Goals, Purpose, and Research
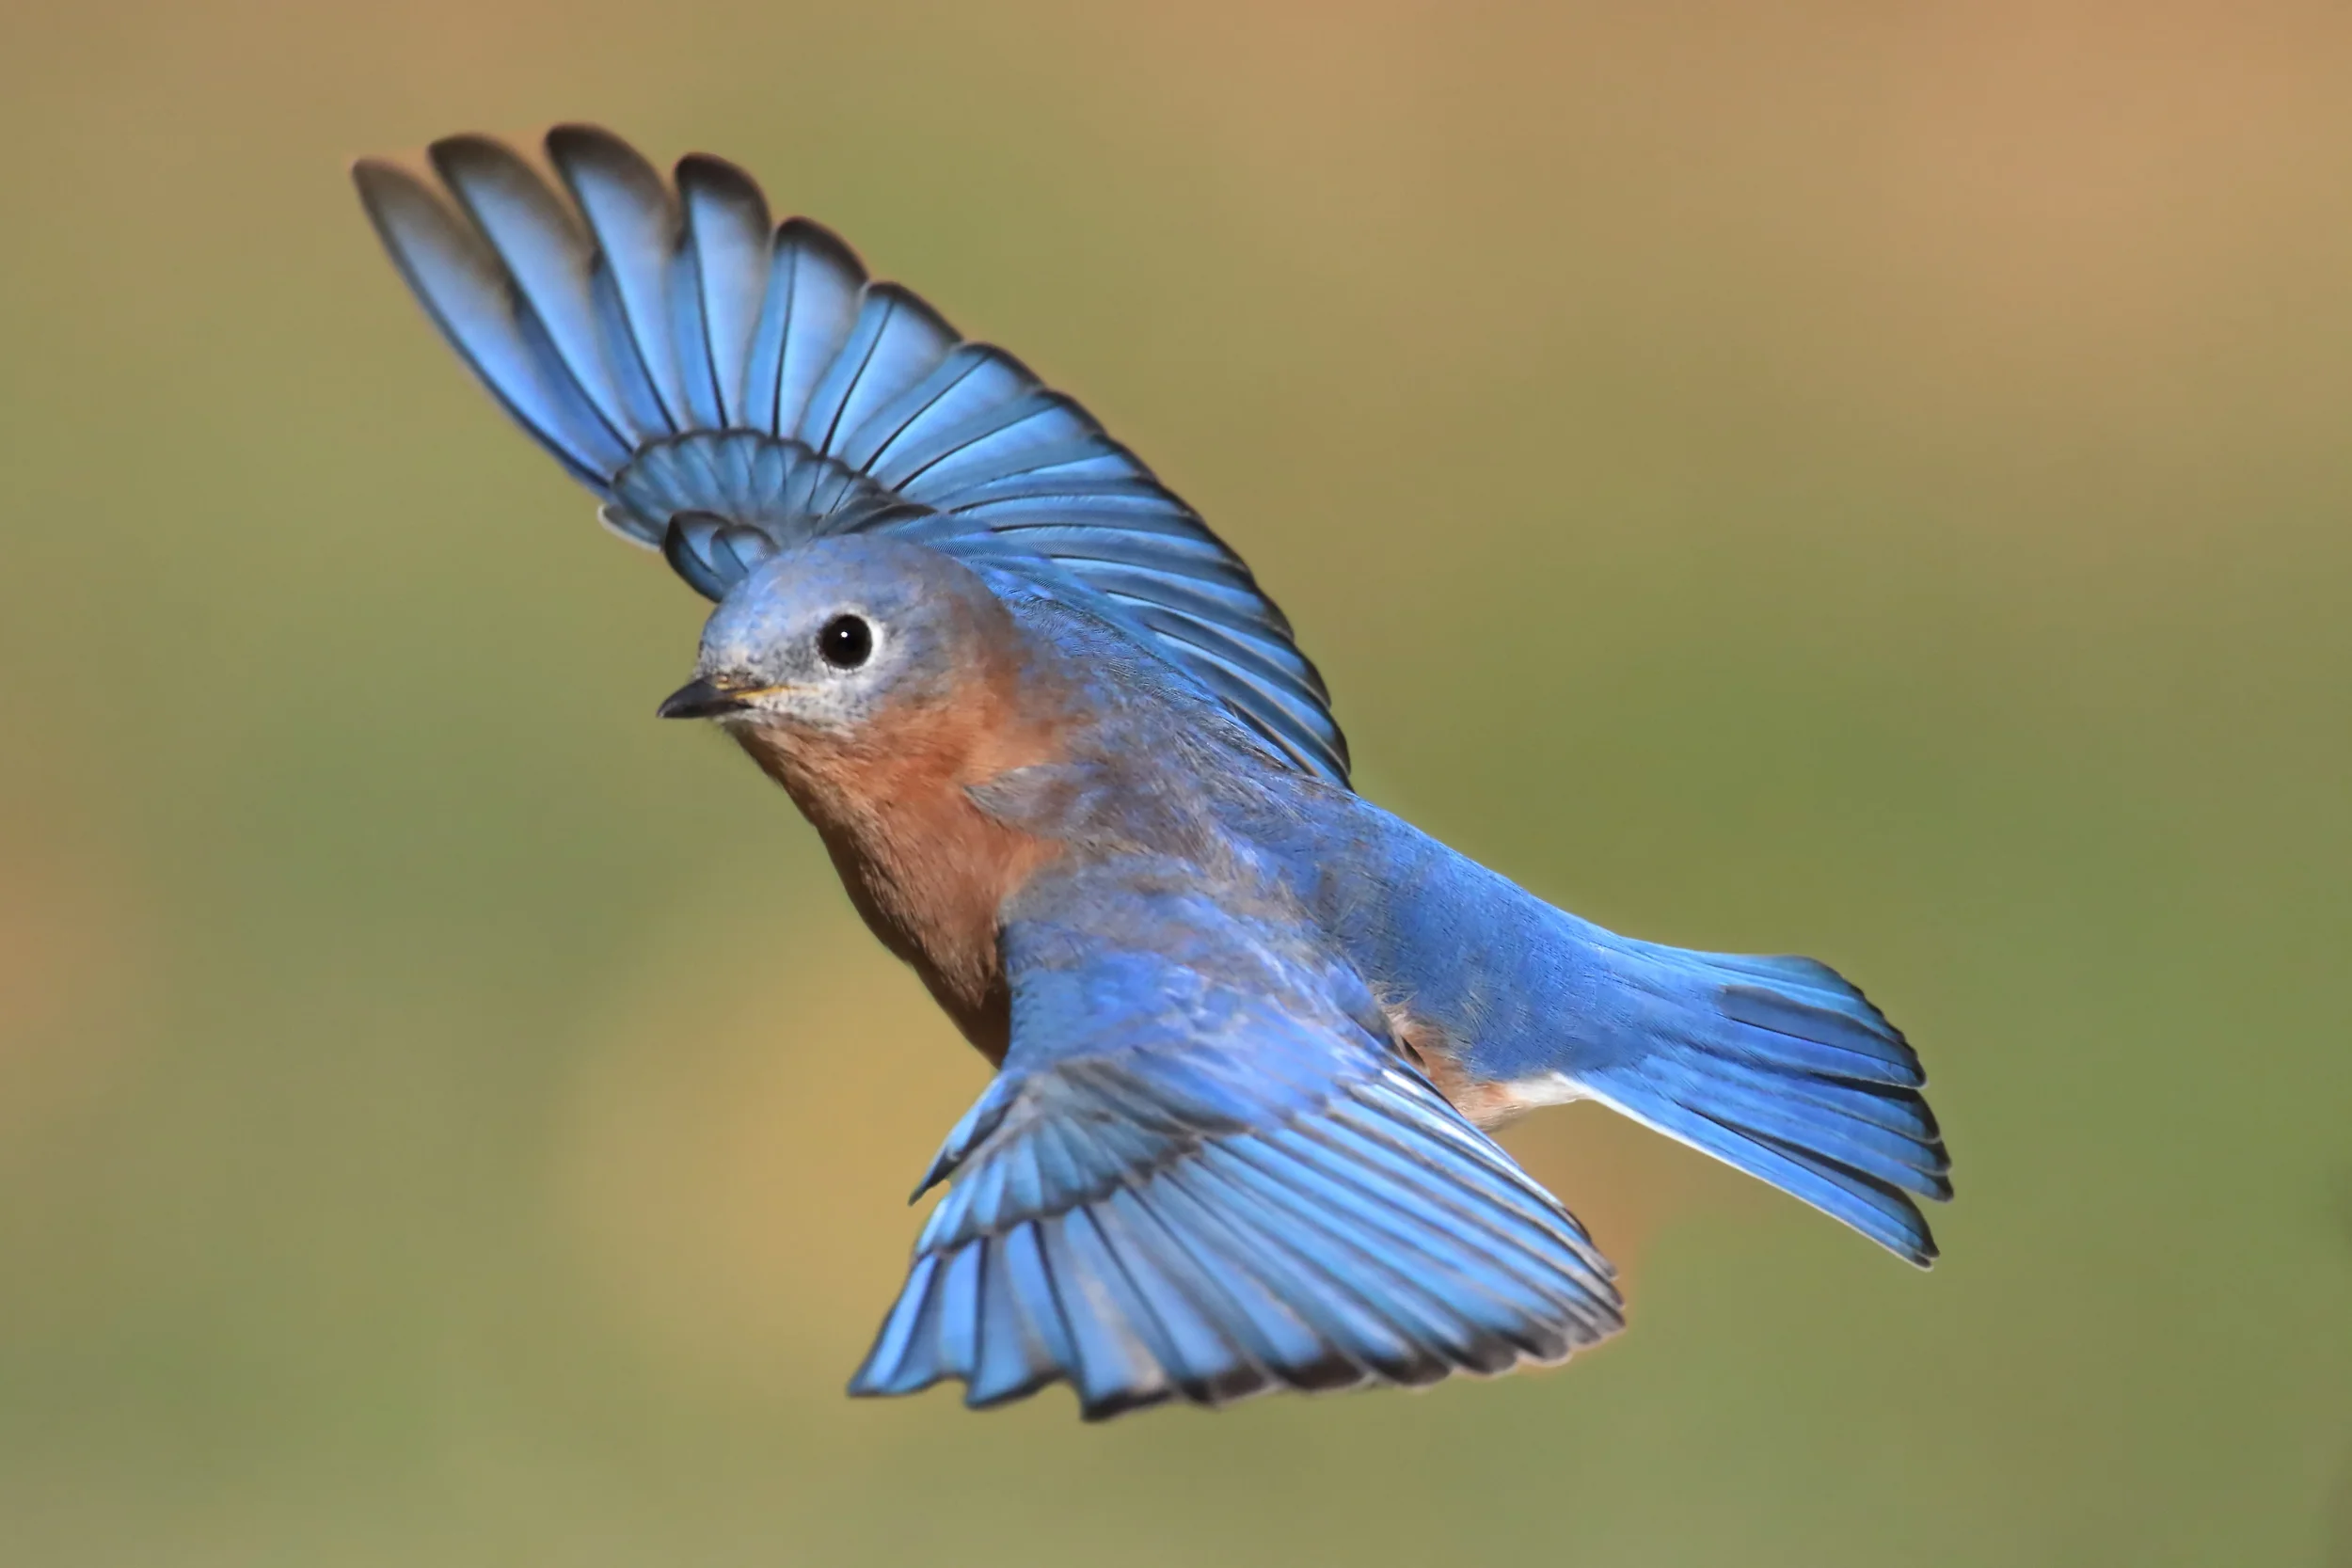
My goals with this project were to create a design that was functional and would keep birds safe, but was also aesthetically pleasing. I chose the eastern bluebird as there are some that live near me, and I wanted to make a birdhouse I could actually use. Through my research I learned that they are cavity nesters and prefer smaller birdhouses that are attached to something rather than placed, and they are found in the Eastern and central US. They also compete with birds like house sparrows and starlings for living space, as they both like to live in similar spaces and are much more aggressive birds.
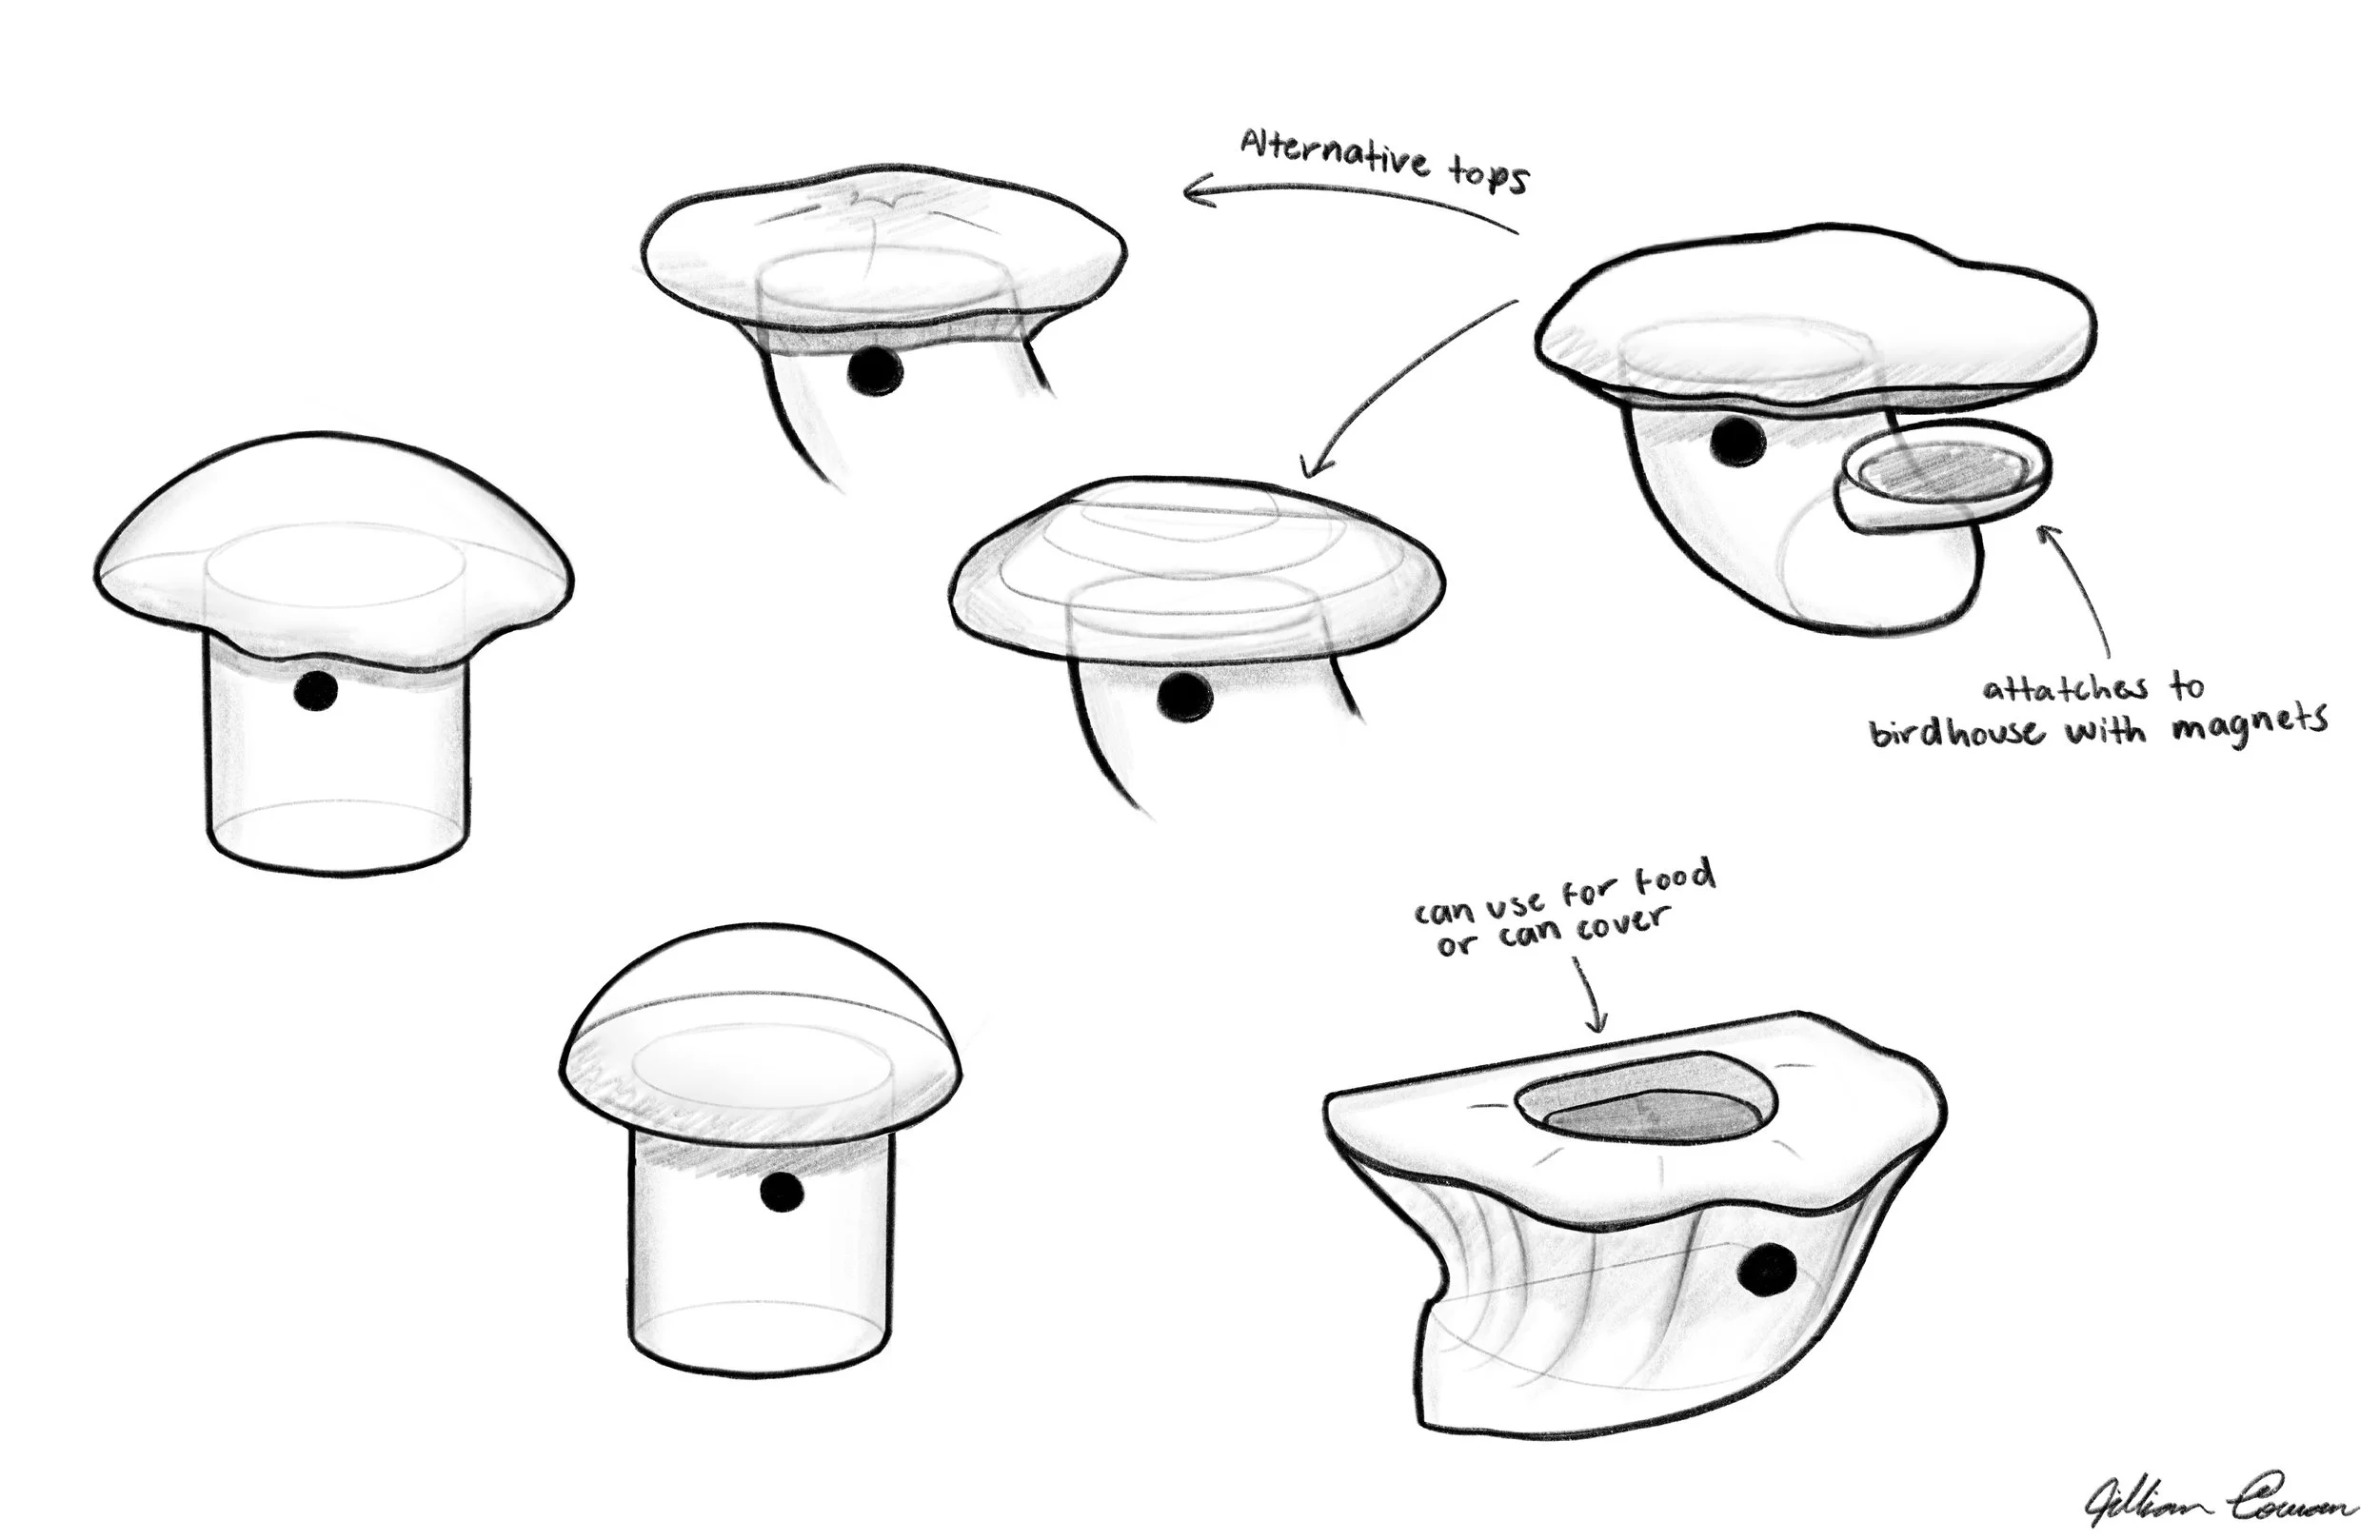
Exploratory Sketches
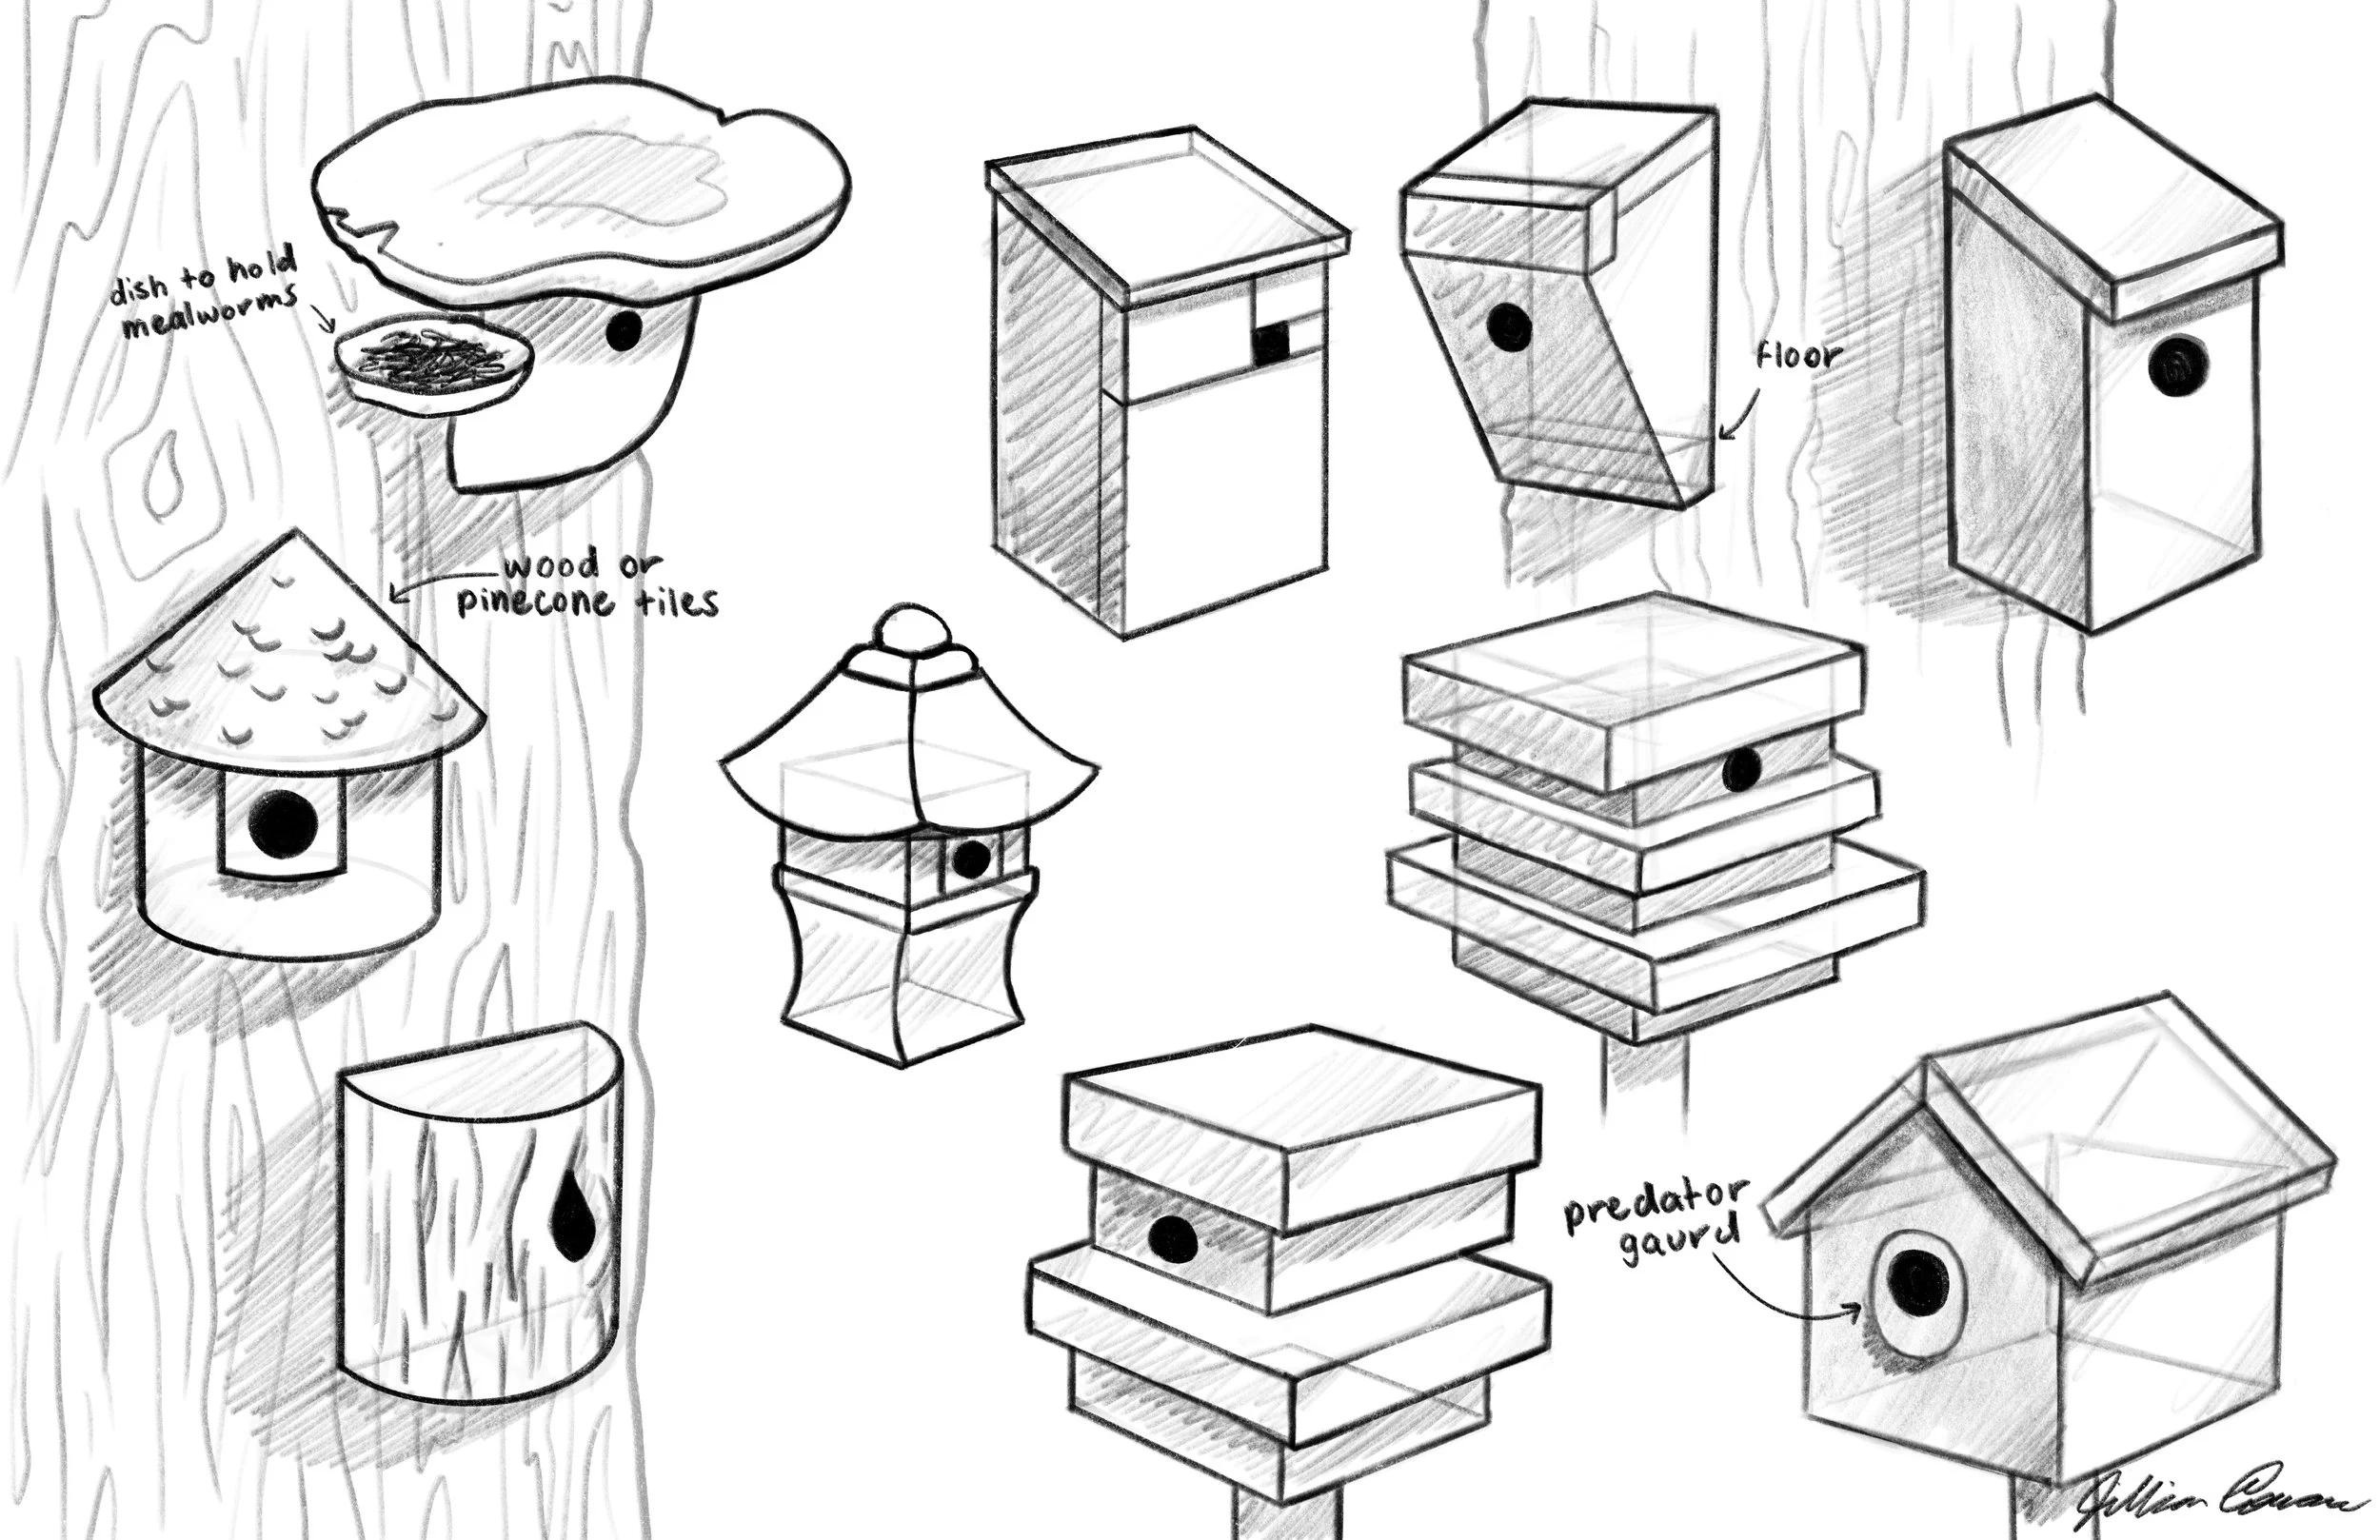
For my design, I wanted it to be something simple but also visually interesting, so I tried to focus on shape language when designing. I also tried to keep in mind what type of living spaces bluebirds like, and how big the house should be. I also knew that I wanted to make my birdhouse out of wood, so I kept that in mind while creating my designs as well.


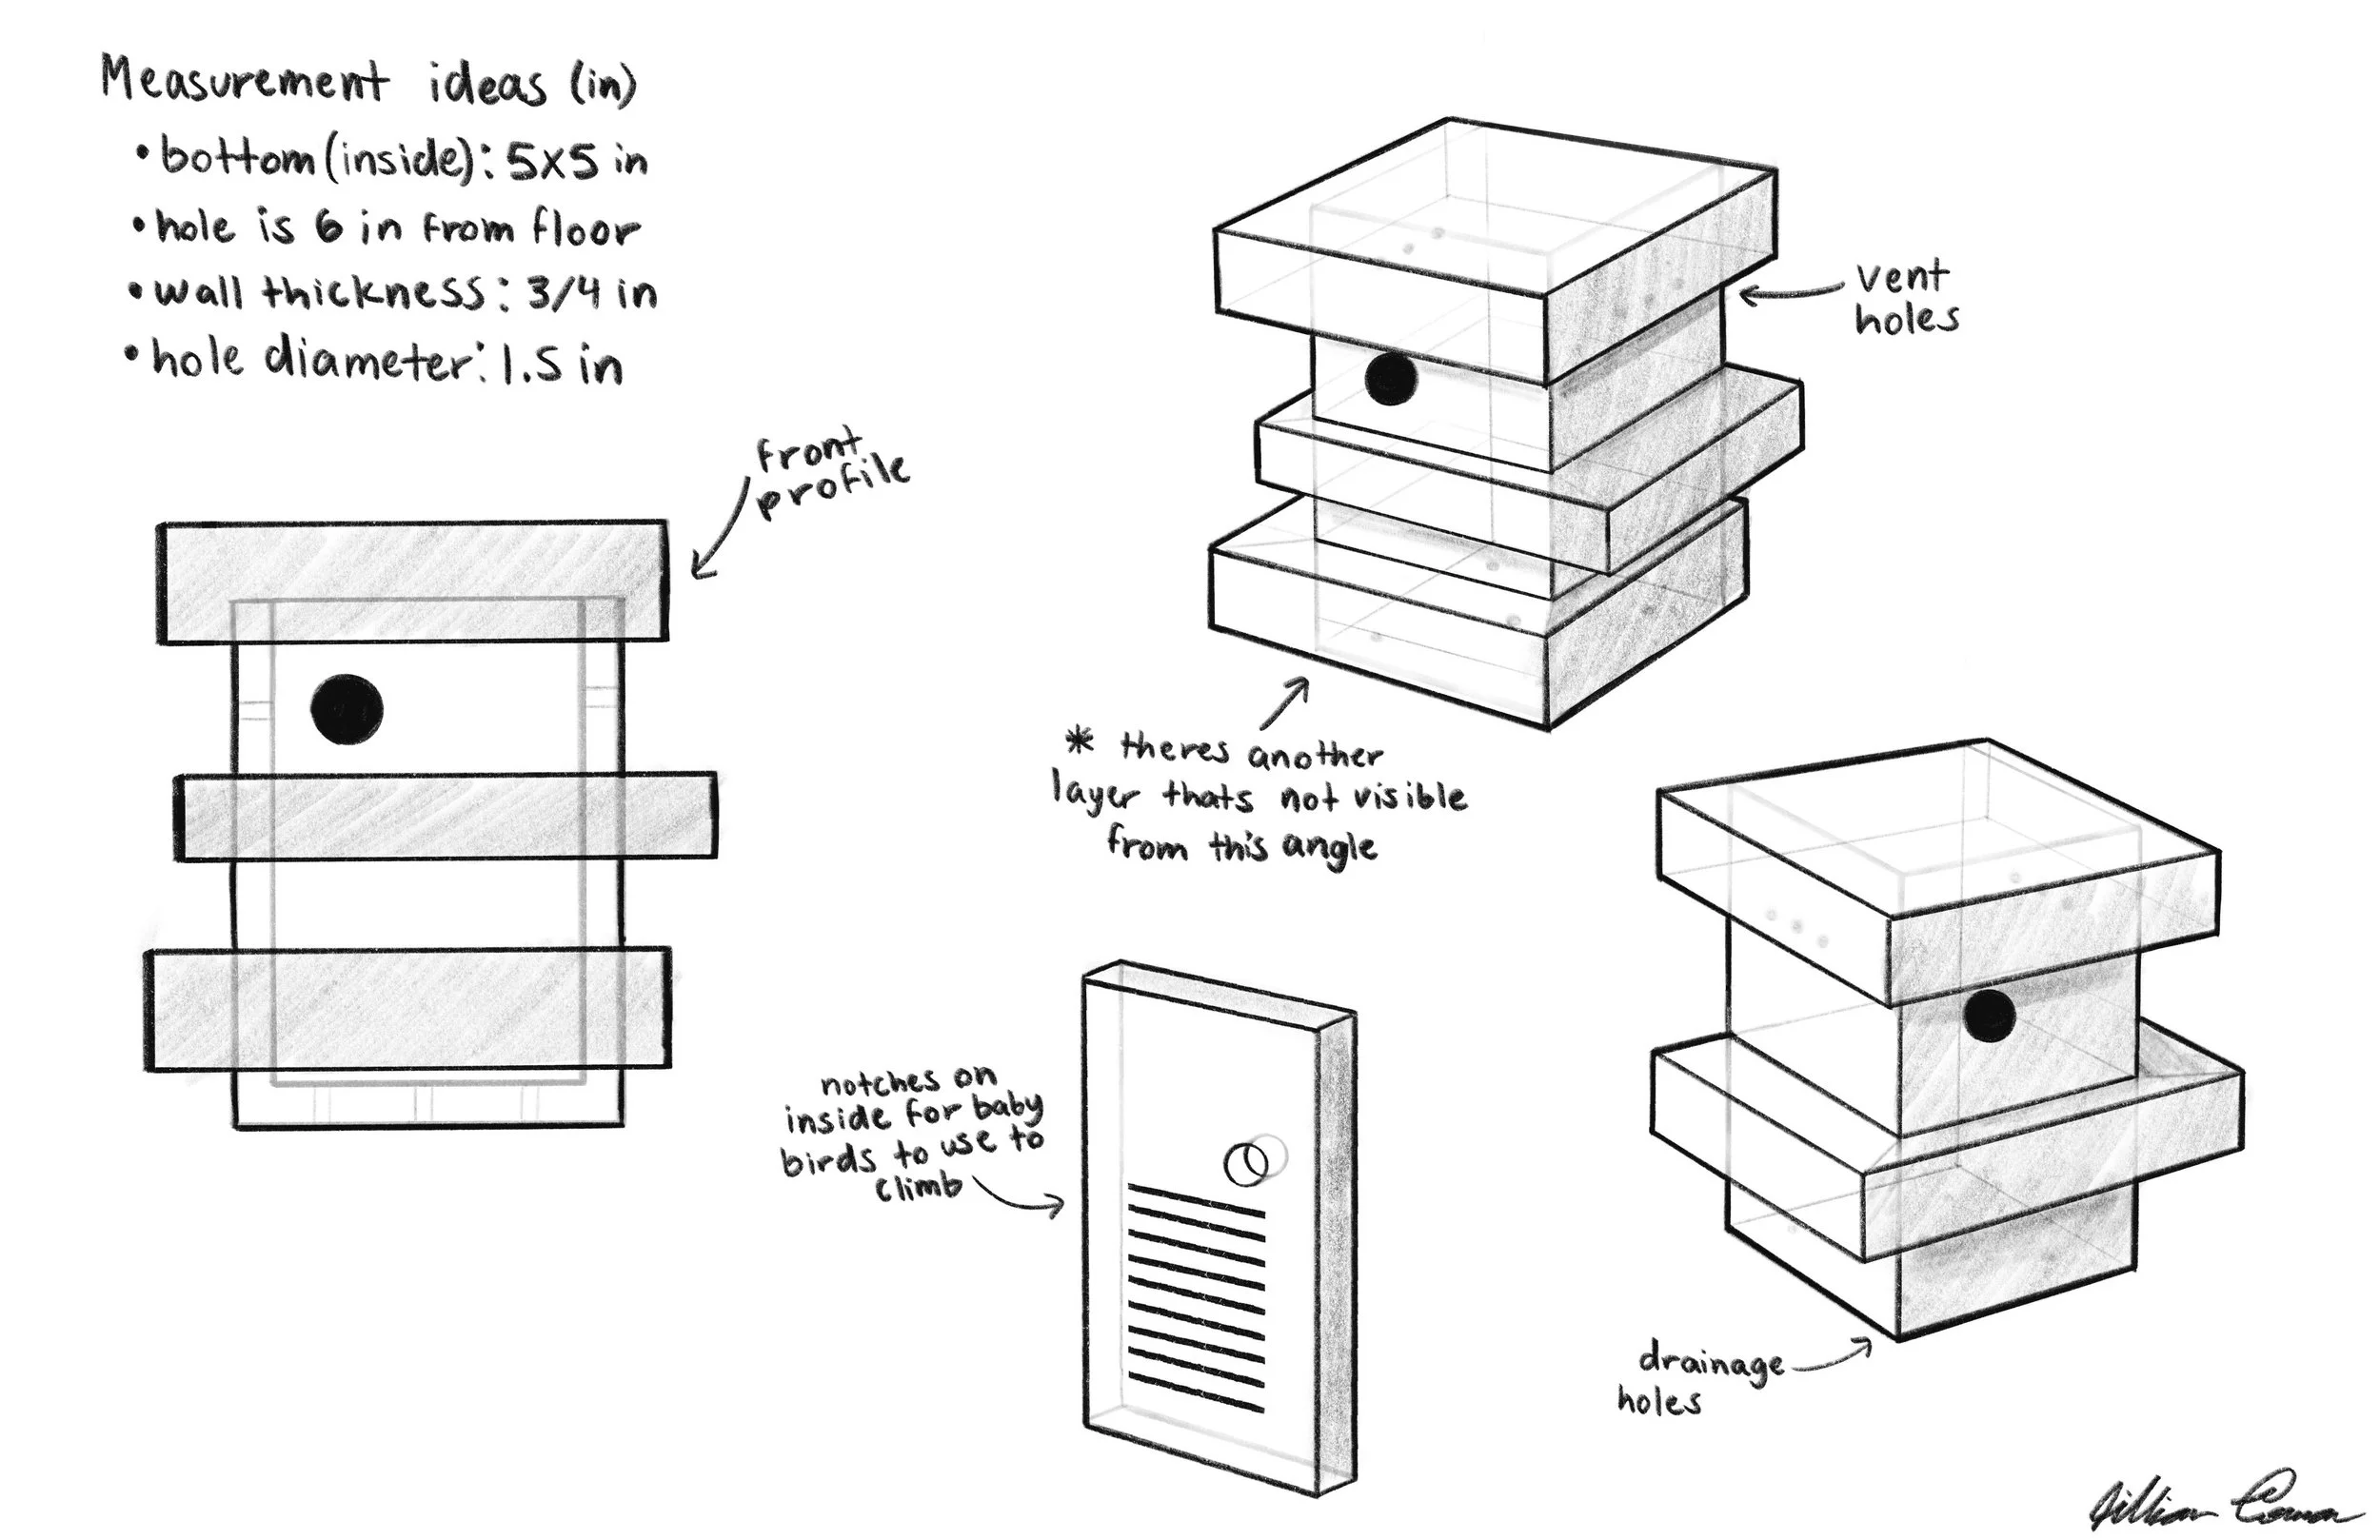
First Physical Models
I made mini models before making bigger ones to so I could get an idea of the shape and design before the size. I also was thinking of how I would make each design and what process I would use, and started to think of more specific measurements and wood thicknesses for each design.
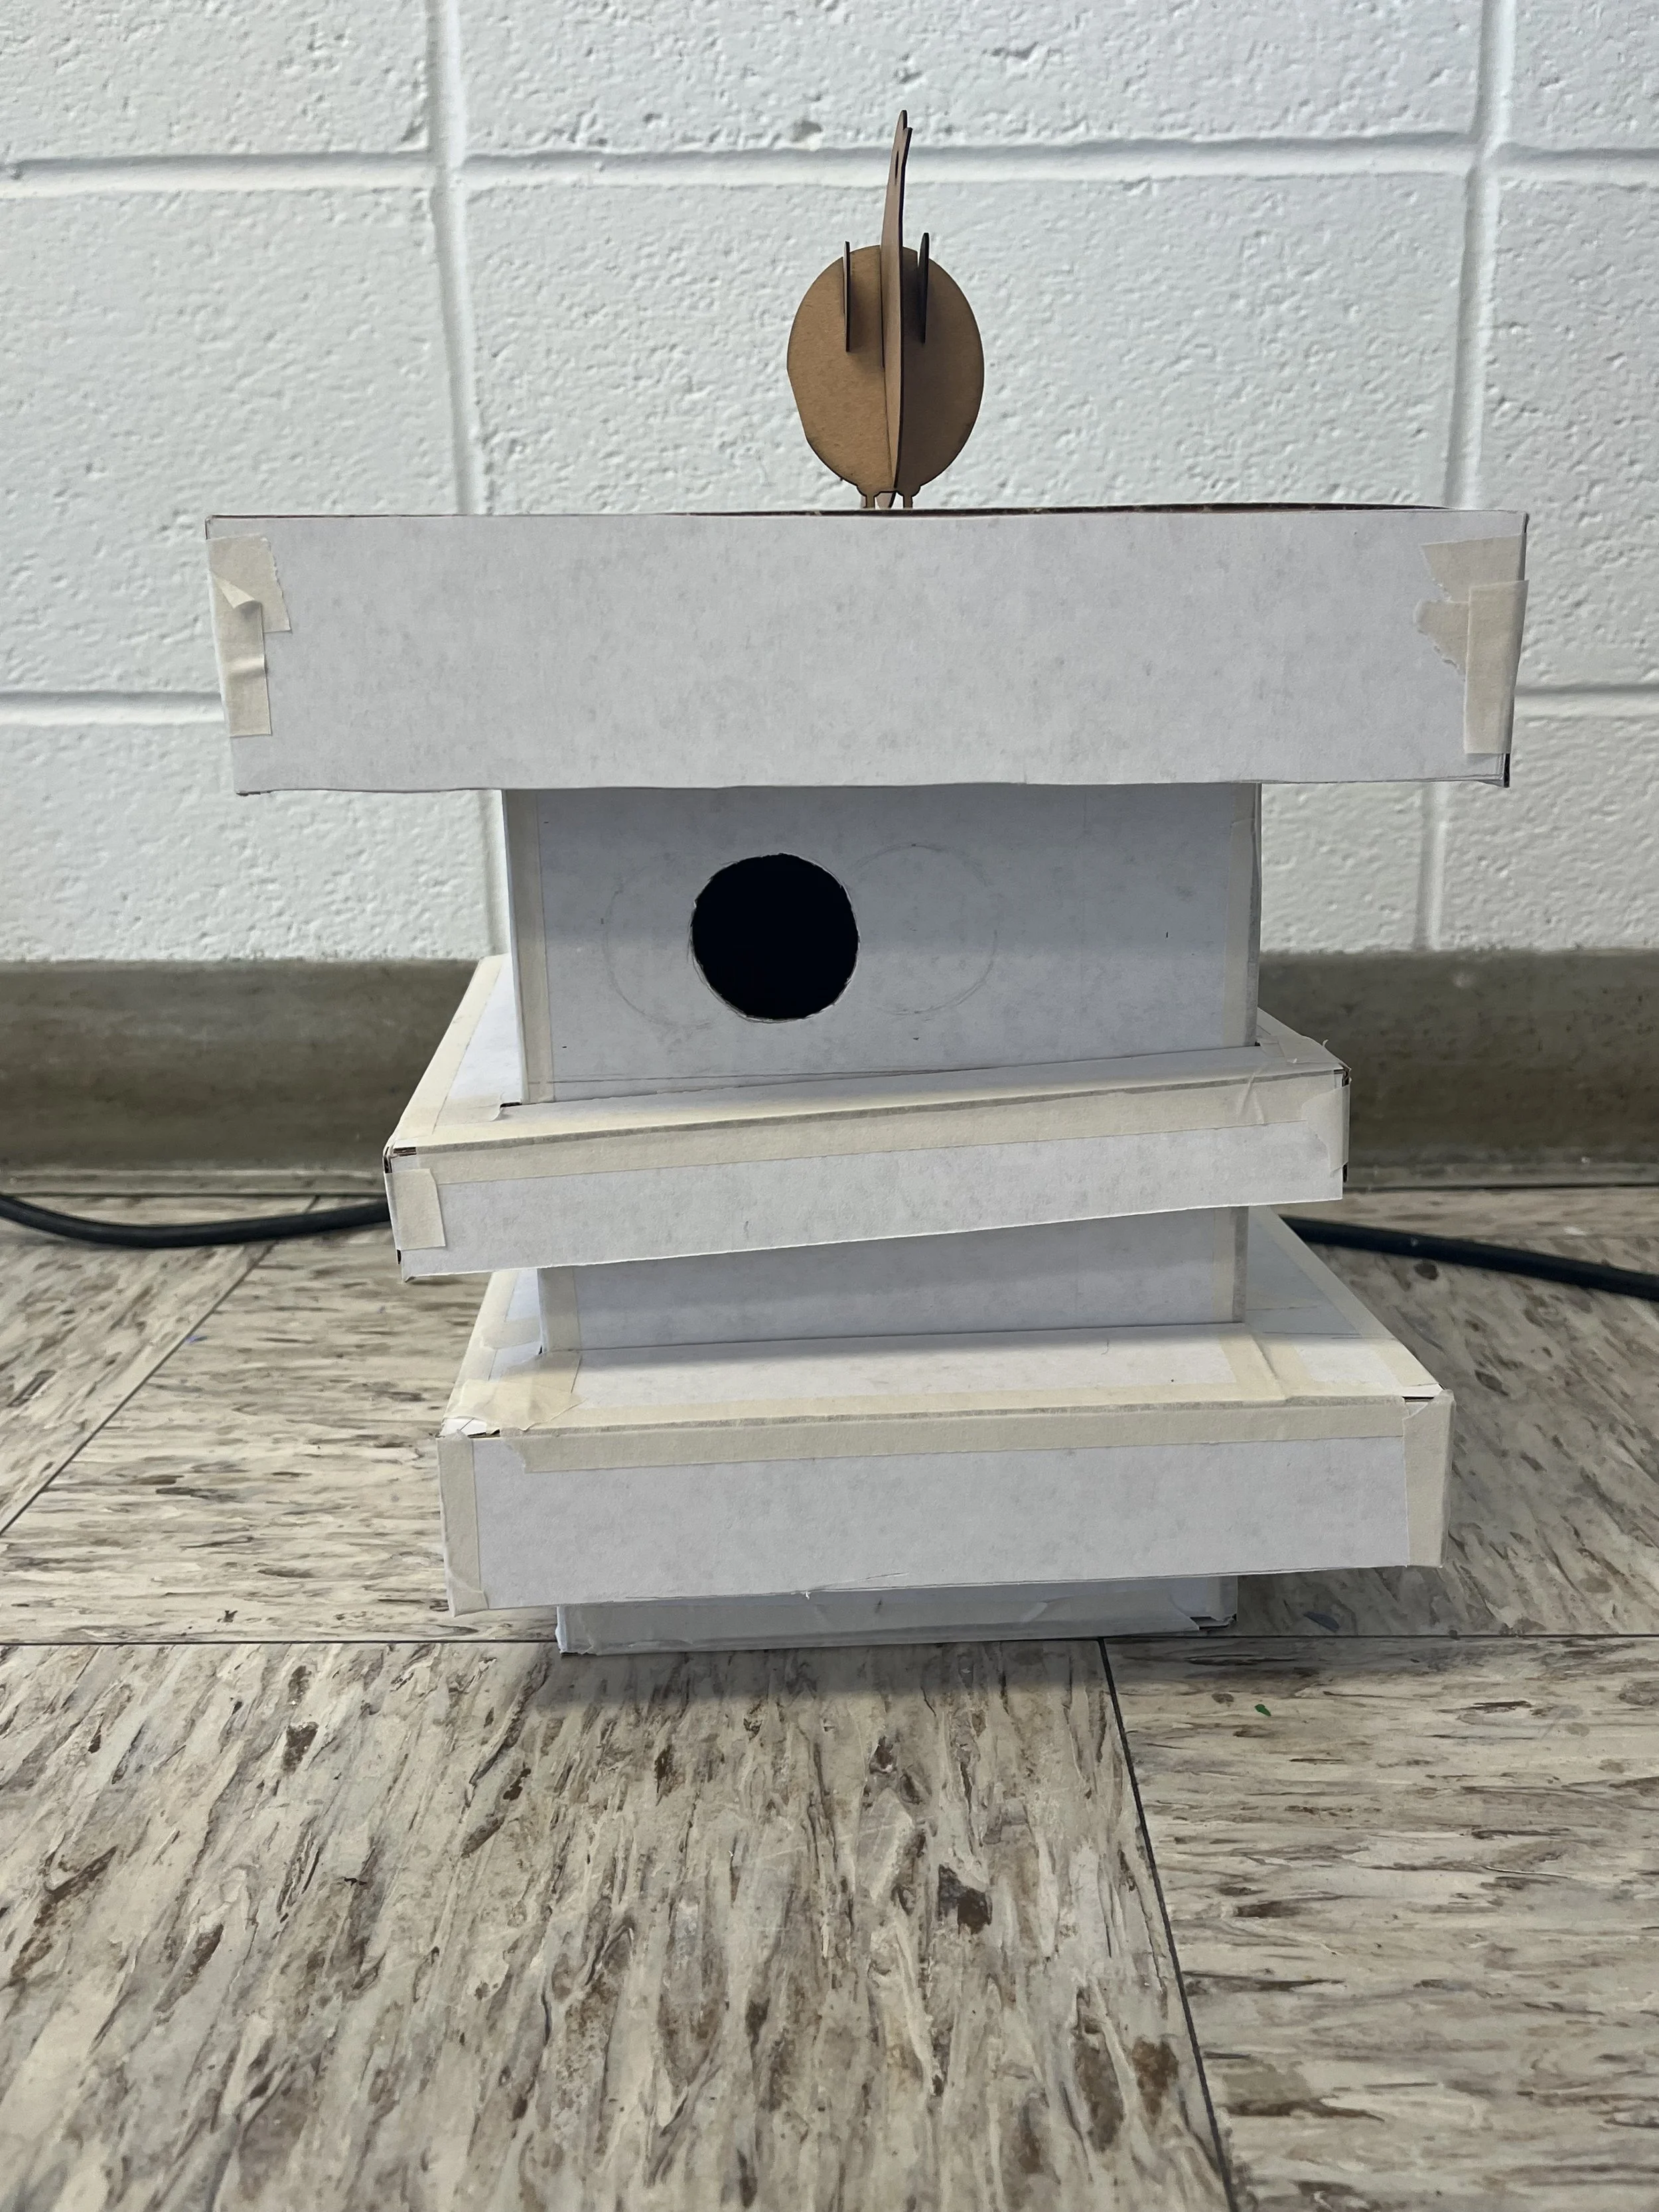
Choosing a Design
I finally settled on this design, as I found its shape interesting, and its simple but also interesting. Its heavily inspired by Fallingwater, a house designed by Frank Lloyd Wright. I was inspired by the varying levels that he uses, and thought it would be interesting to do something similar with my birdhouse. There were also many options for different wood combinations, as well as different processes I could use to make the final.


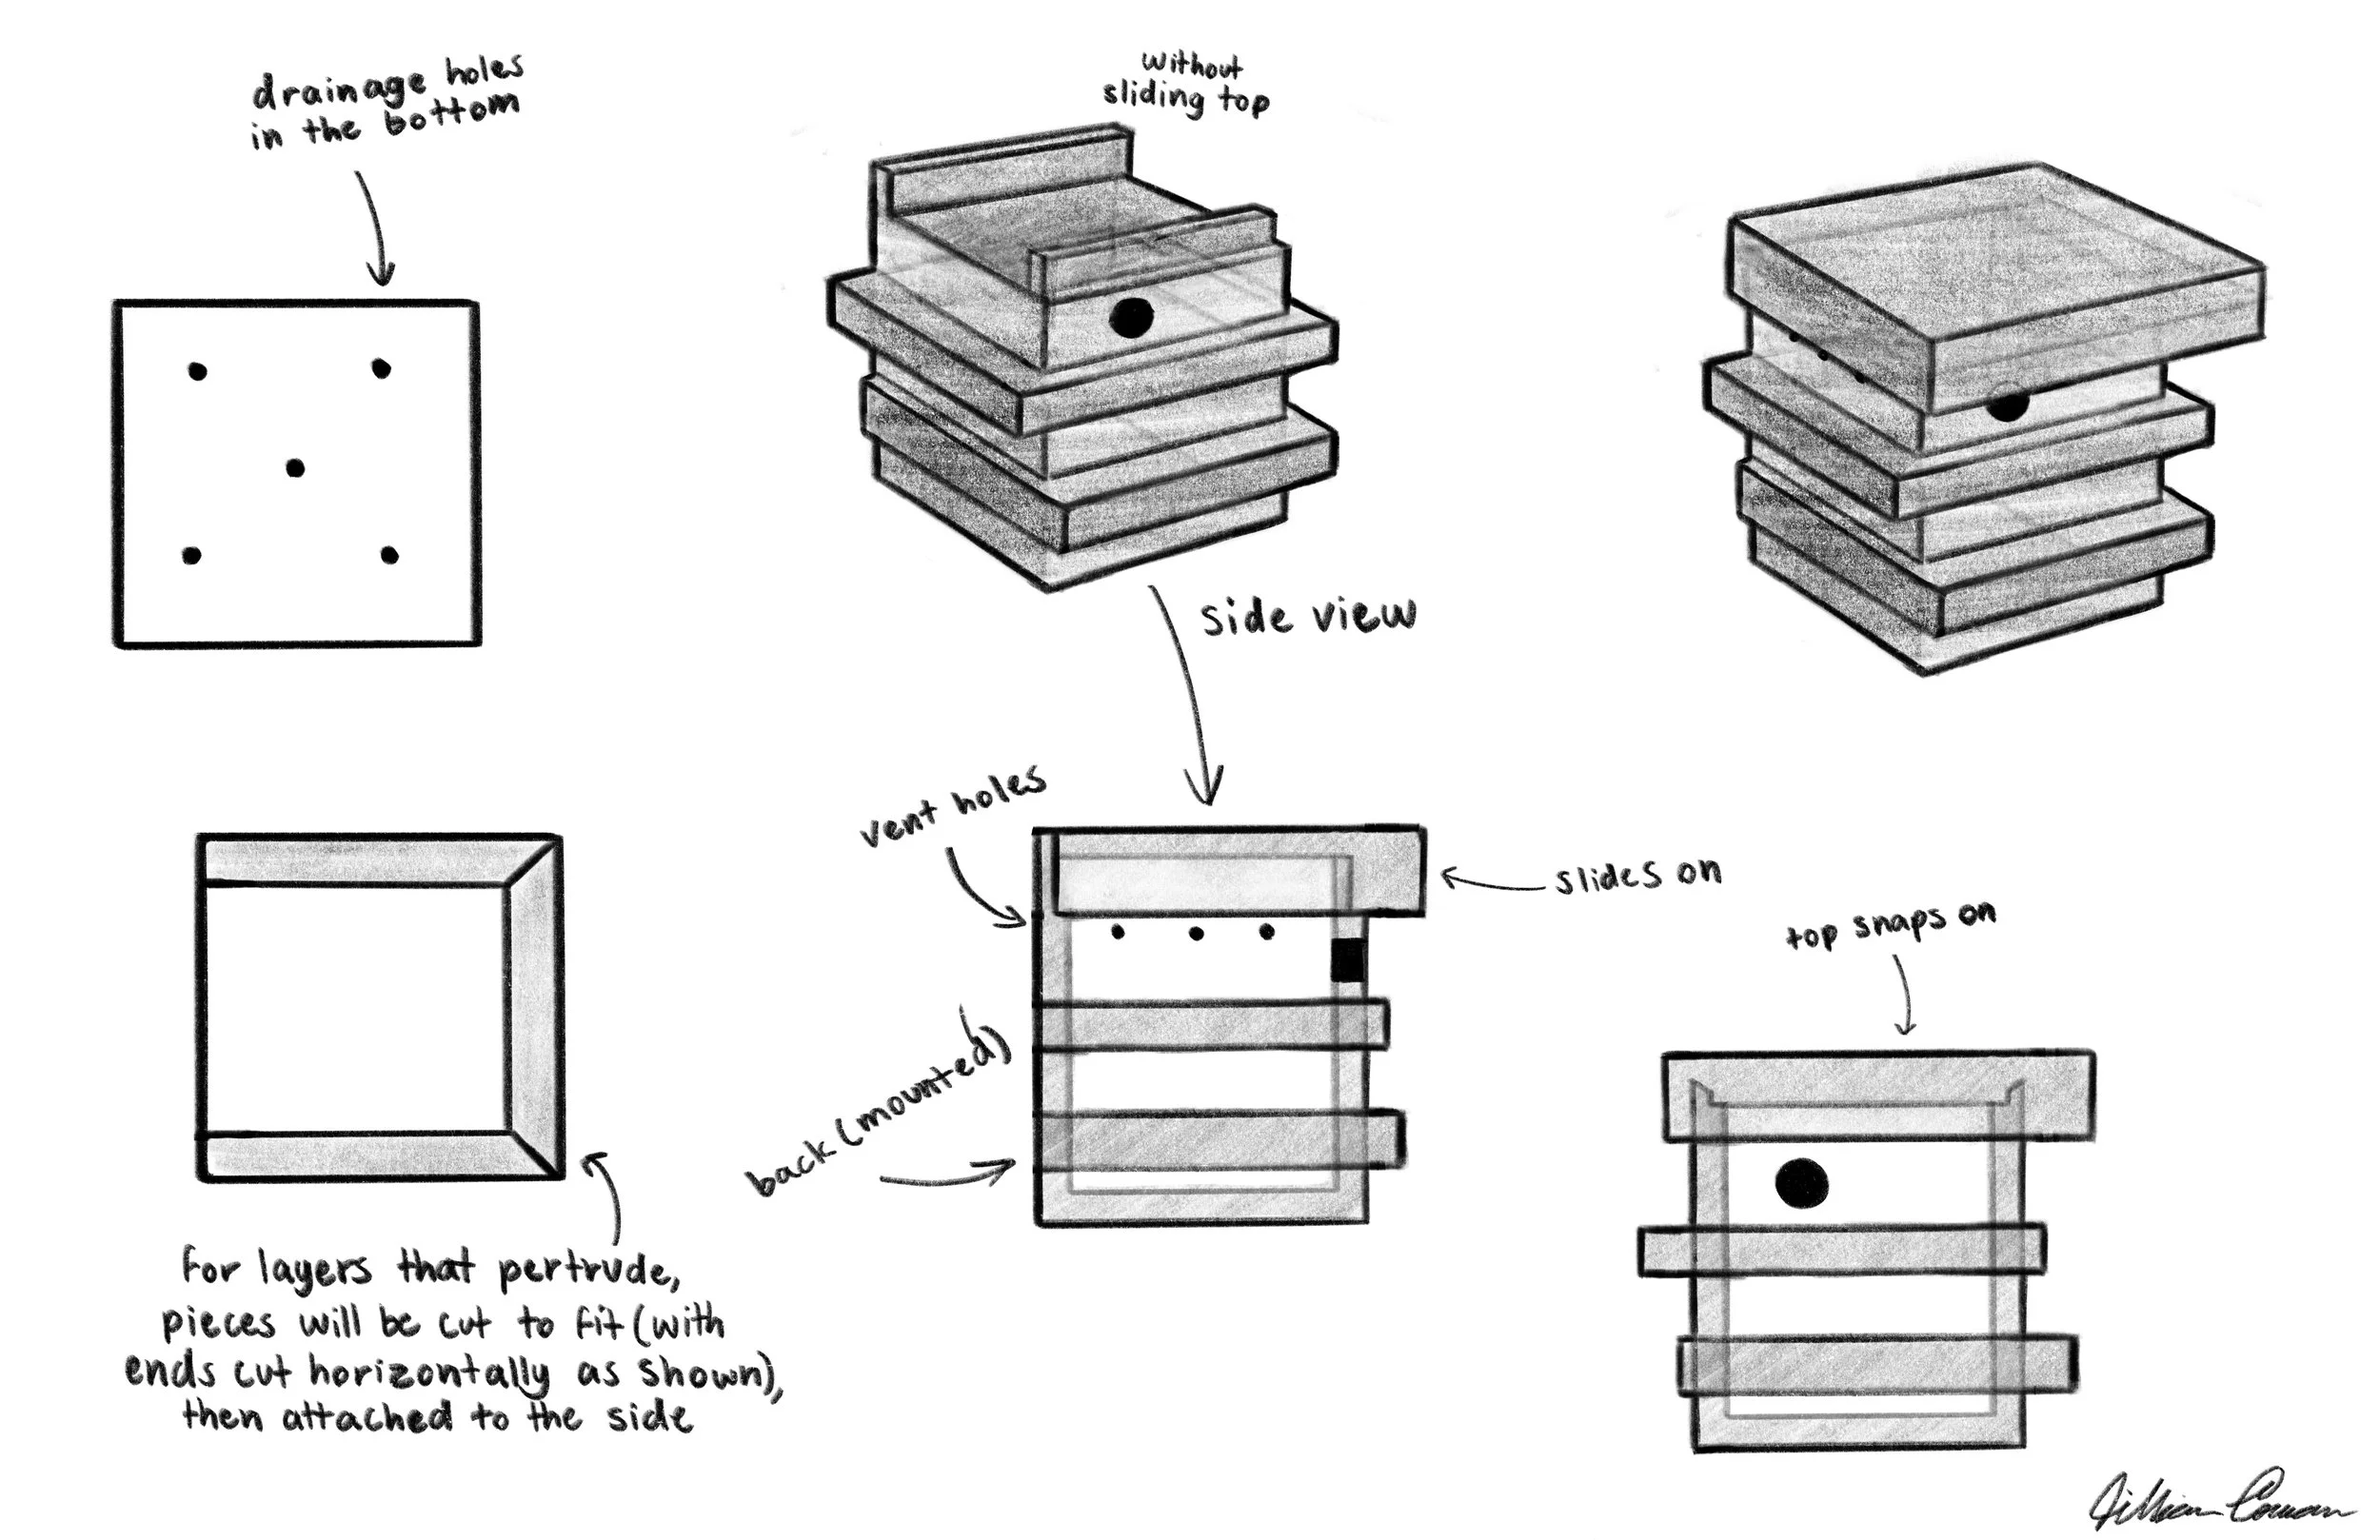
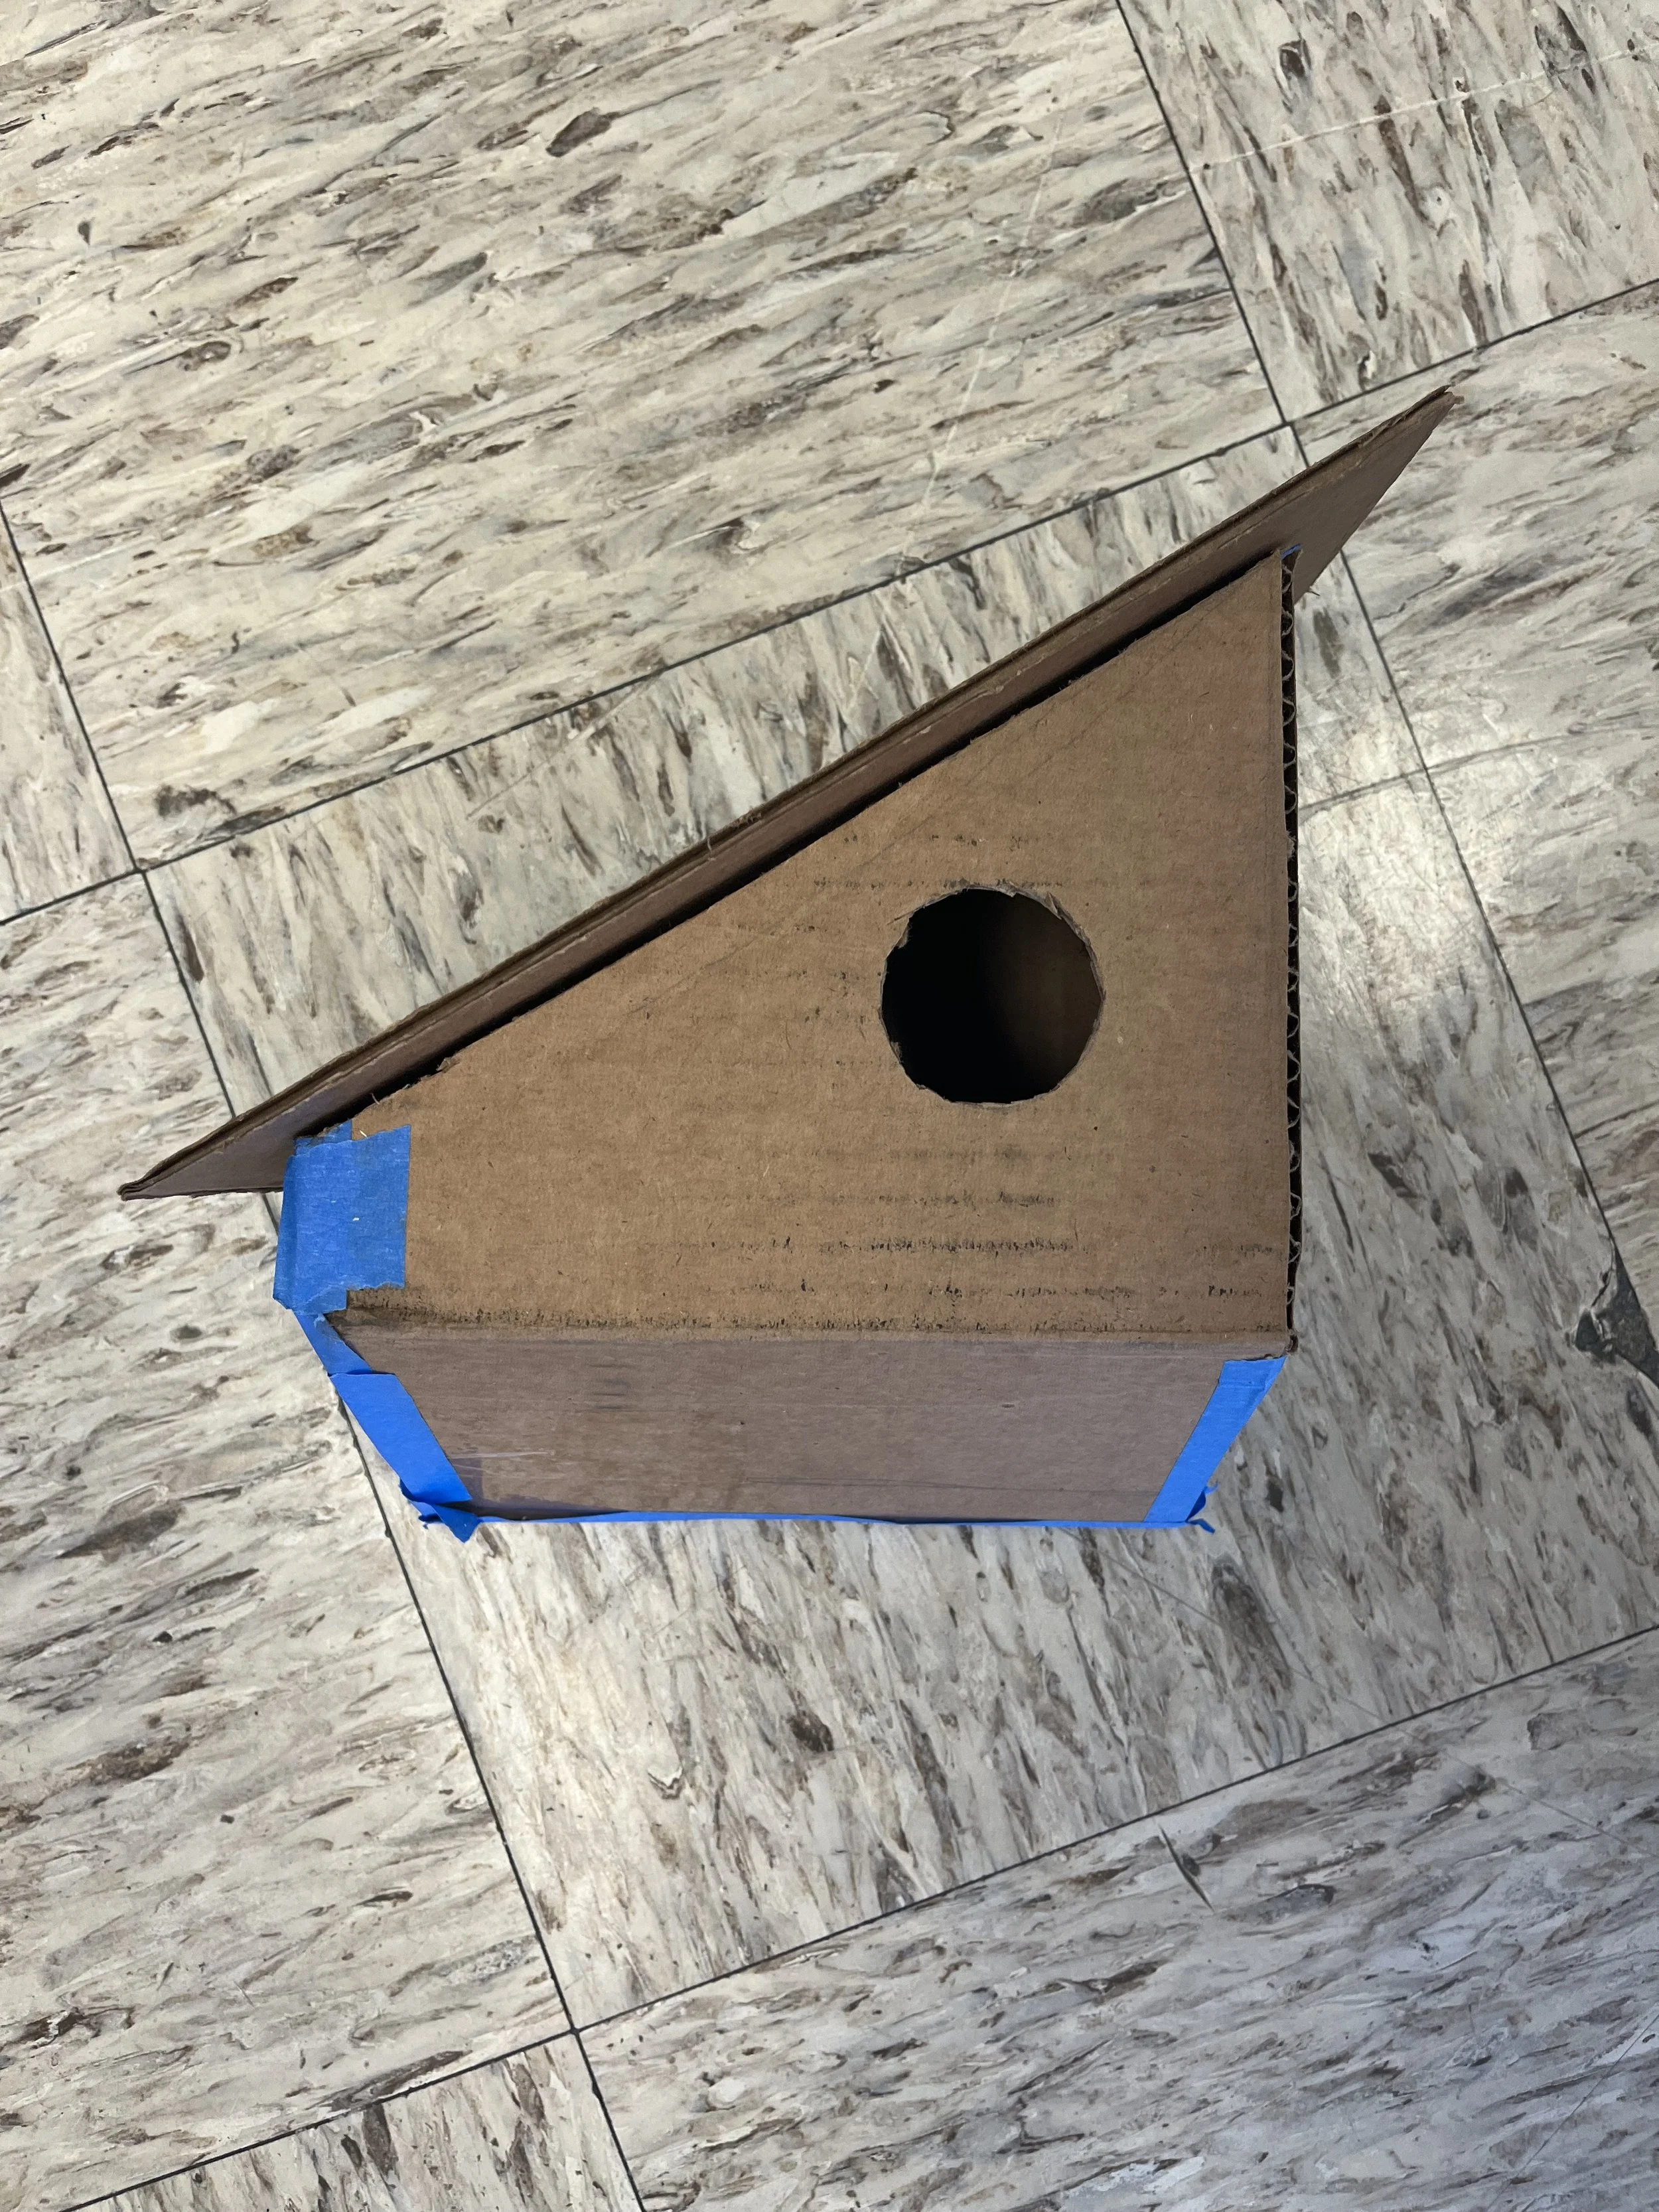
Mid-Fidelity Model
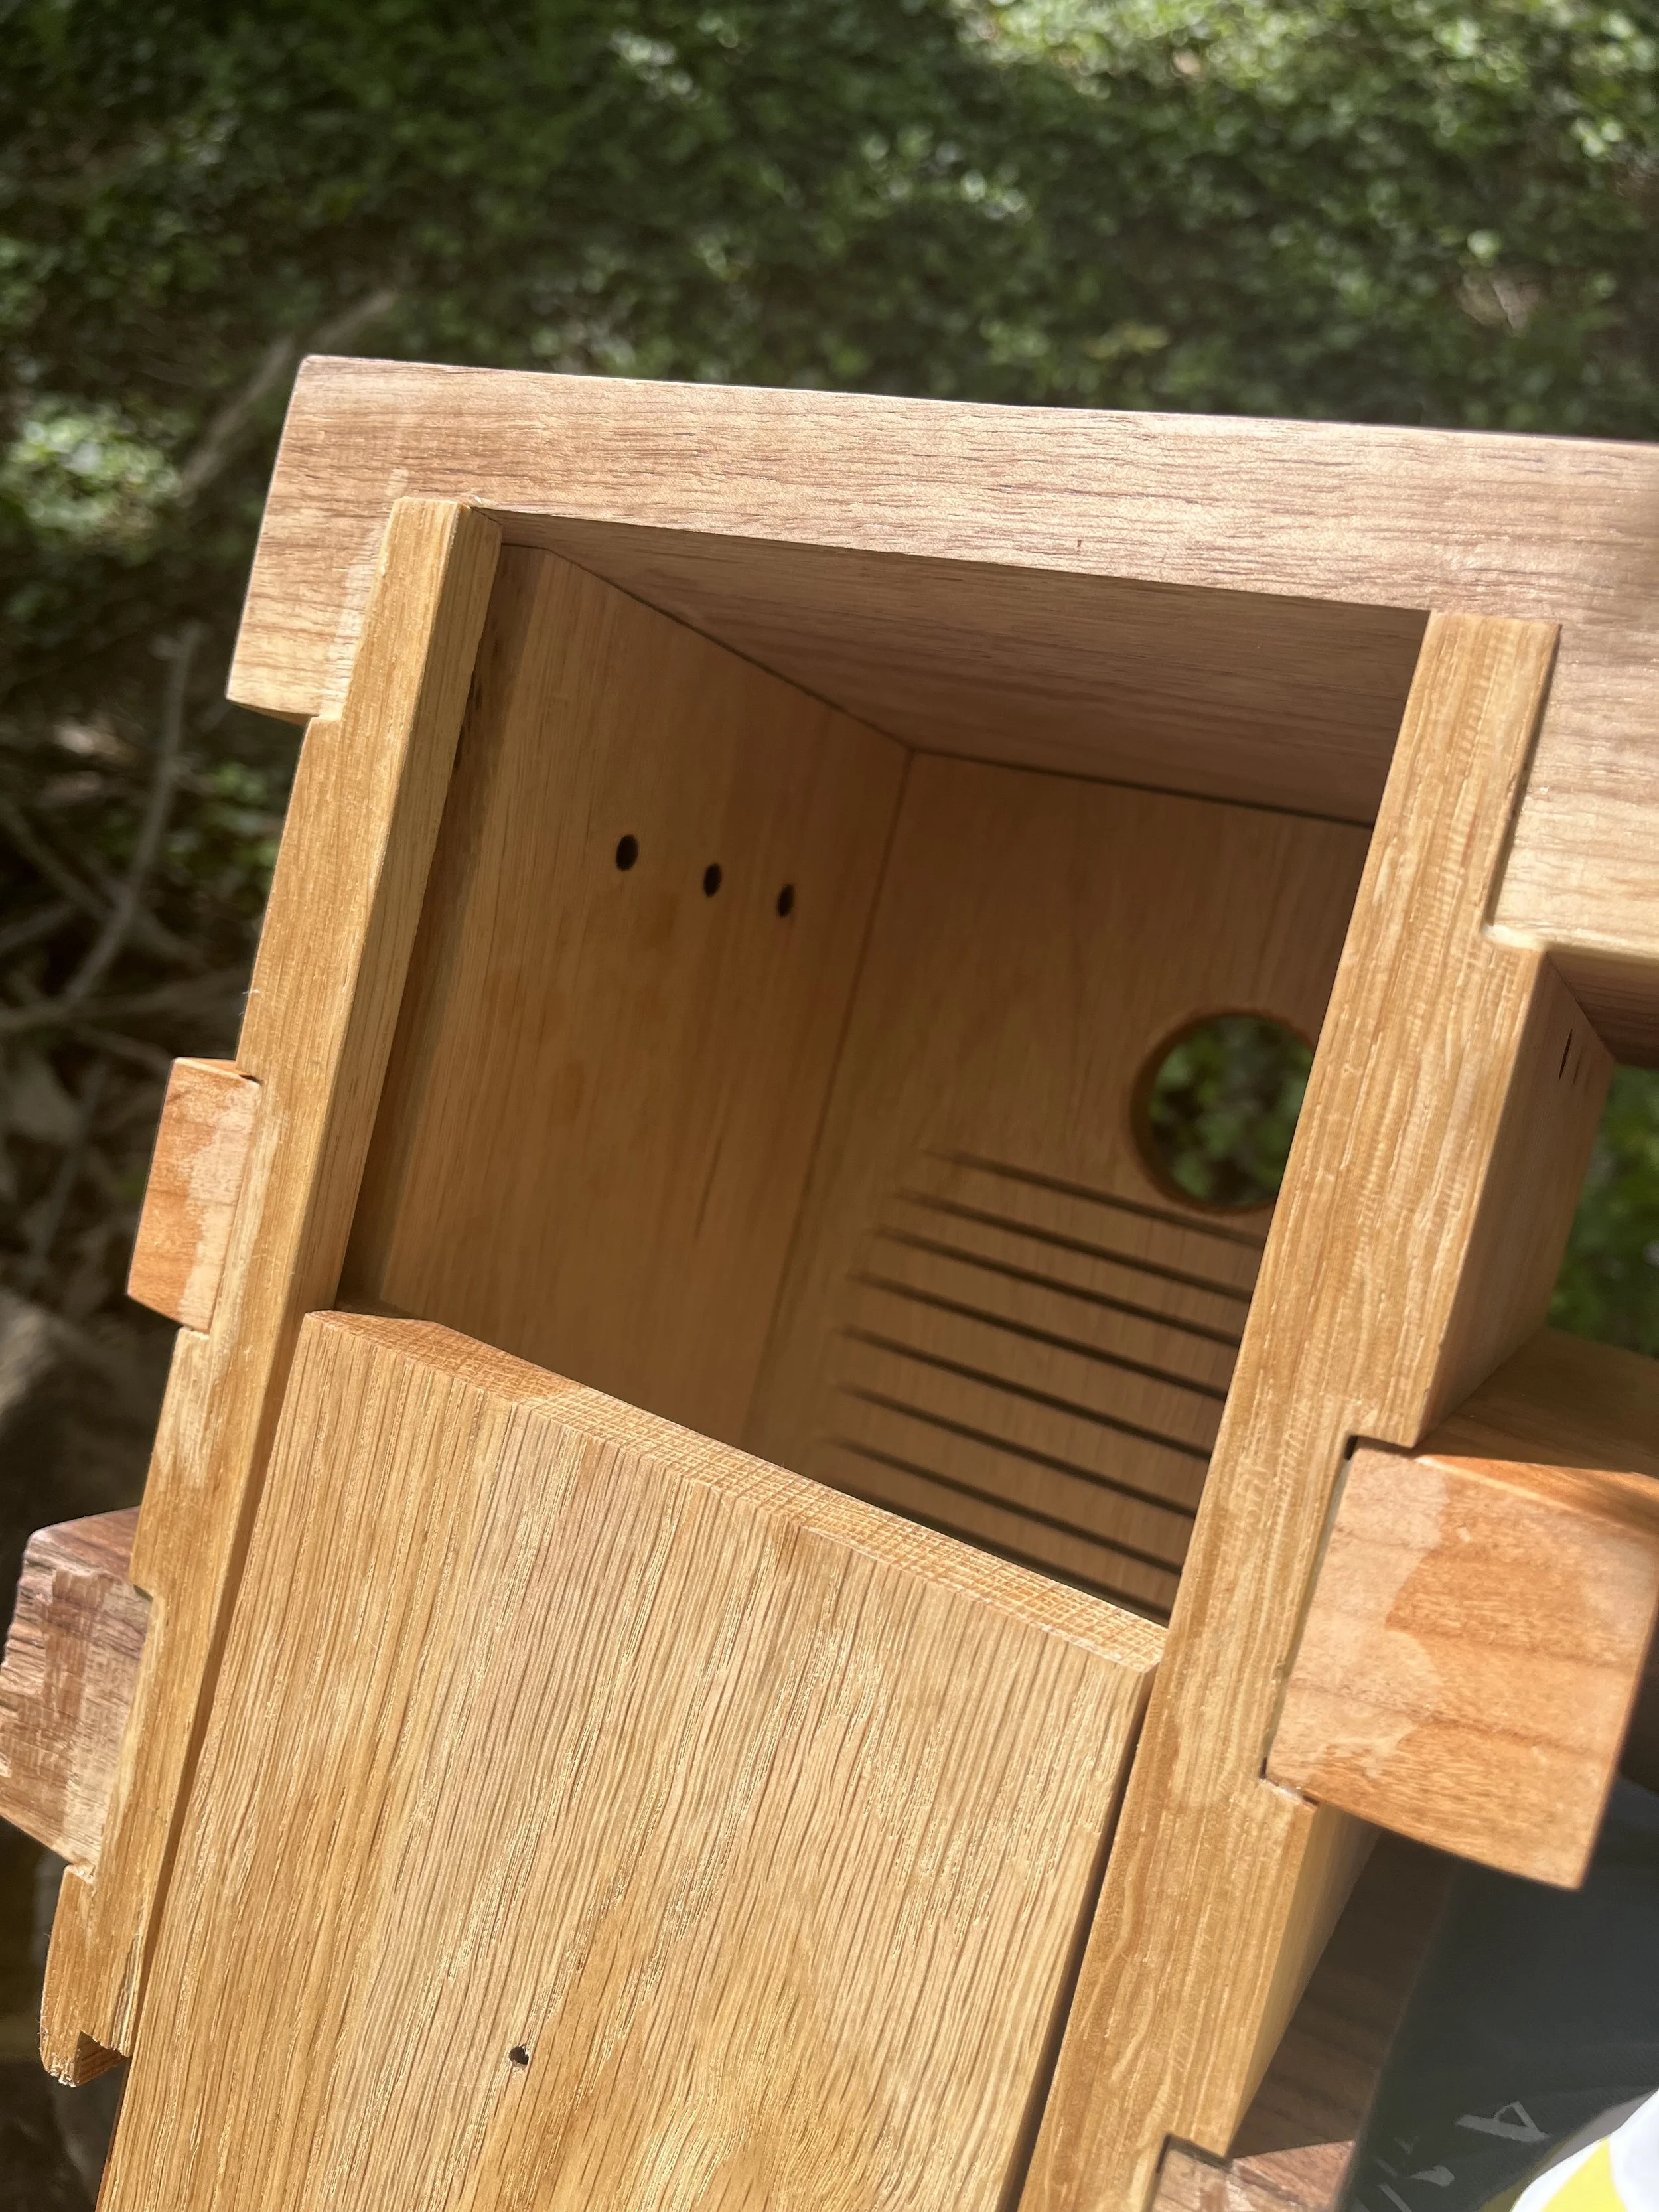
For my mid fidelity model, rather than correct assembly, I was focusing on making sure I liked the silhouette of the overall form to see if I wanted to change any of the measurements before creating my final. For my revised mid-fidelity, I made the back panel sliding, although it didn’t completely fit because it was a bit too tight, but it was still good to get an idea of what the back would look like.


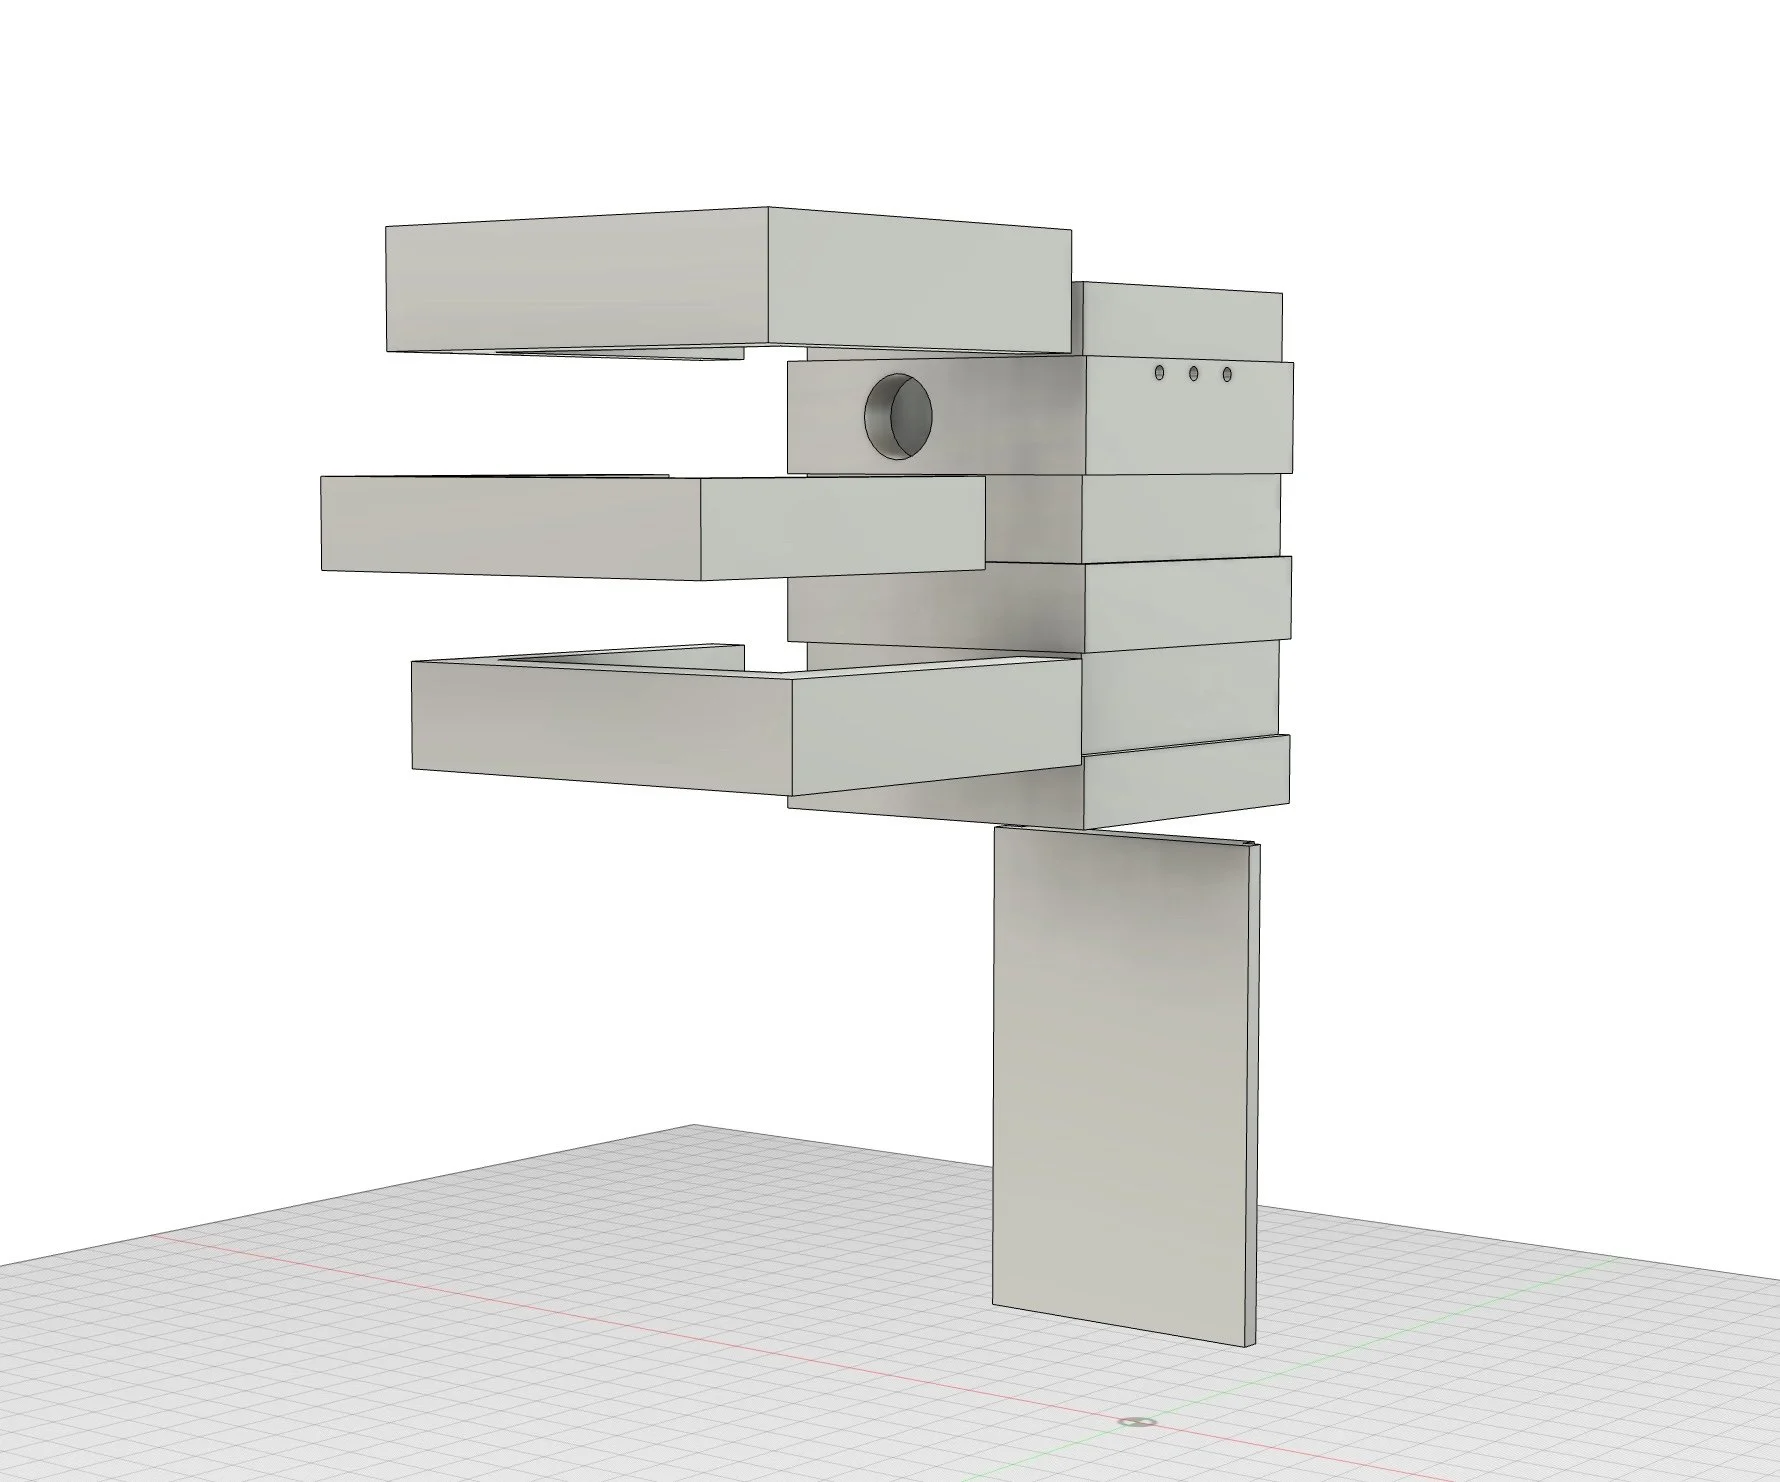
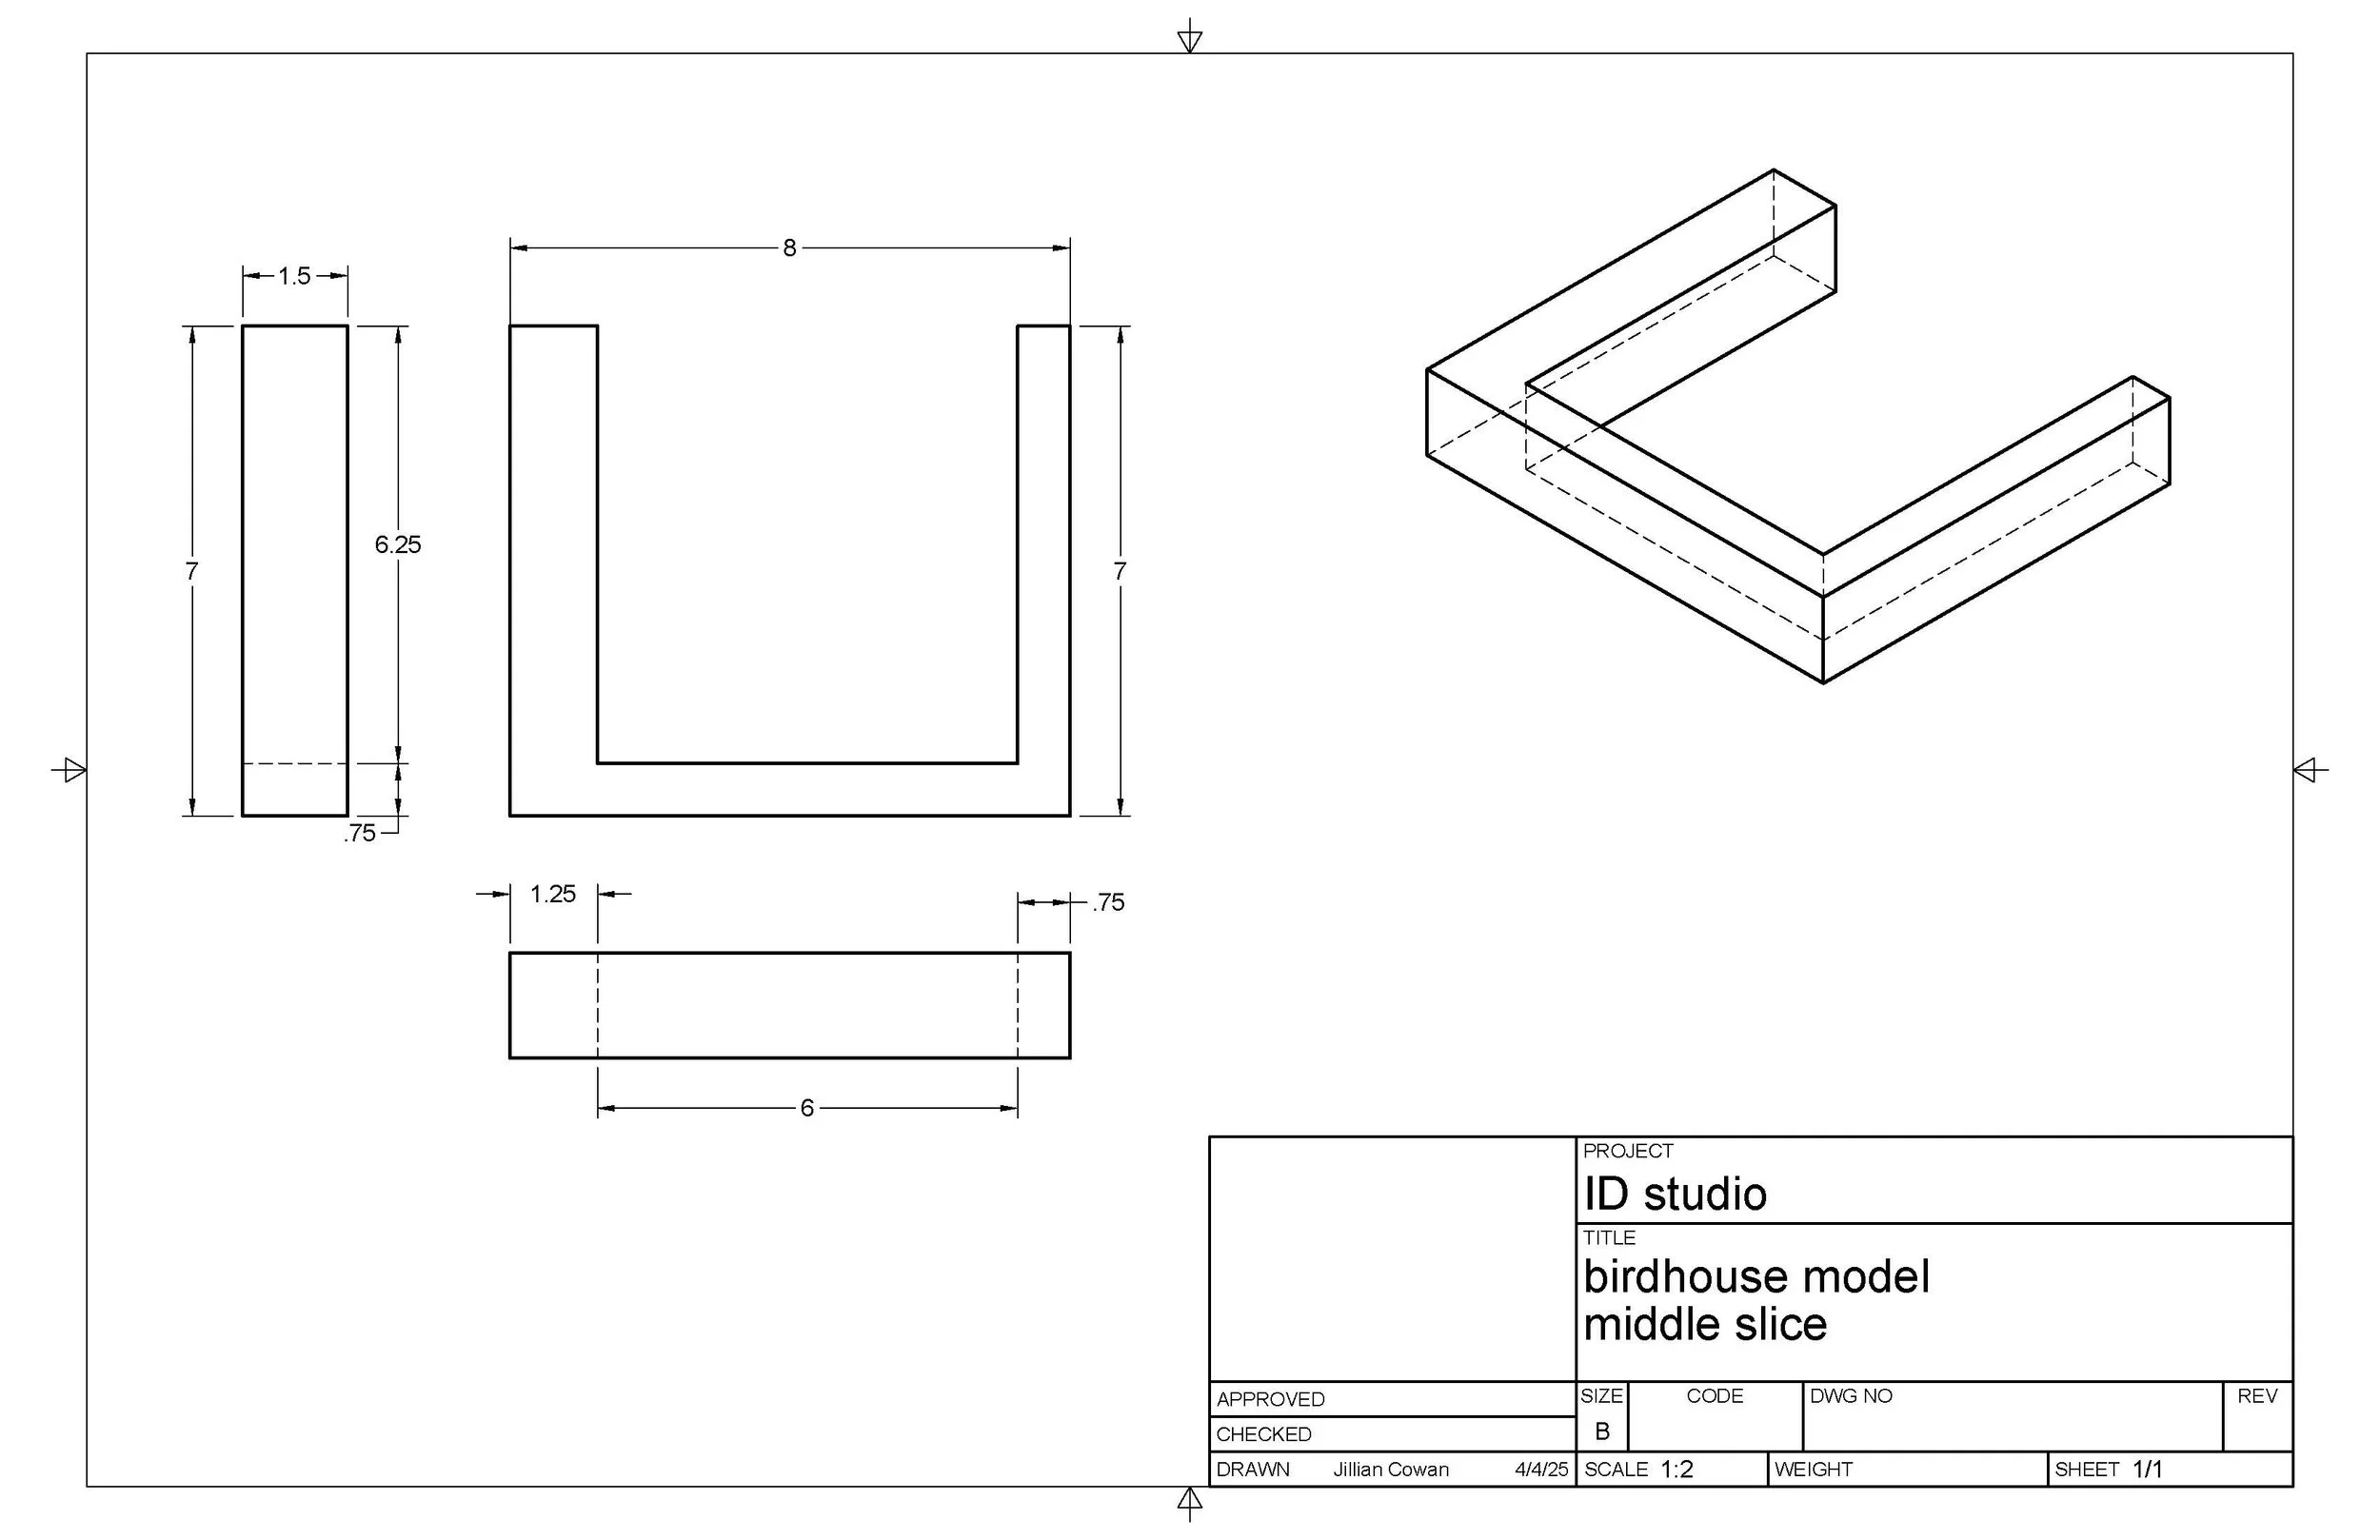
3D Model and Orthographics
I decided to make my 3d model in Fusion 360 before creating my first wood model to get a more specific idea of what I wanted the measurements to be. When I made my model, l modeled the separate pieces of wood that I would cut, essentially deciding how I would assemble the model before diving into my mid-fidelity model. I also used my model to create orthographic sketches that I would be able to reference when creating my wood models. I made orthographics for each individual part that I would cut, as well as one of the whole model.


Renders - Testing Colors
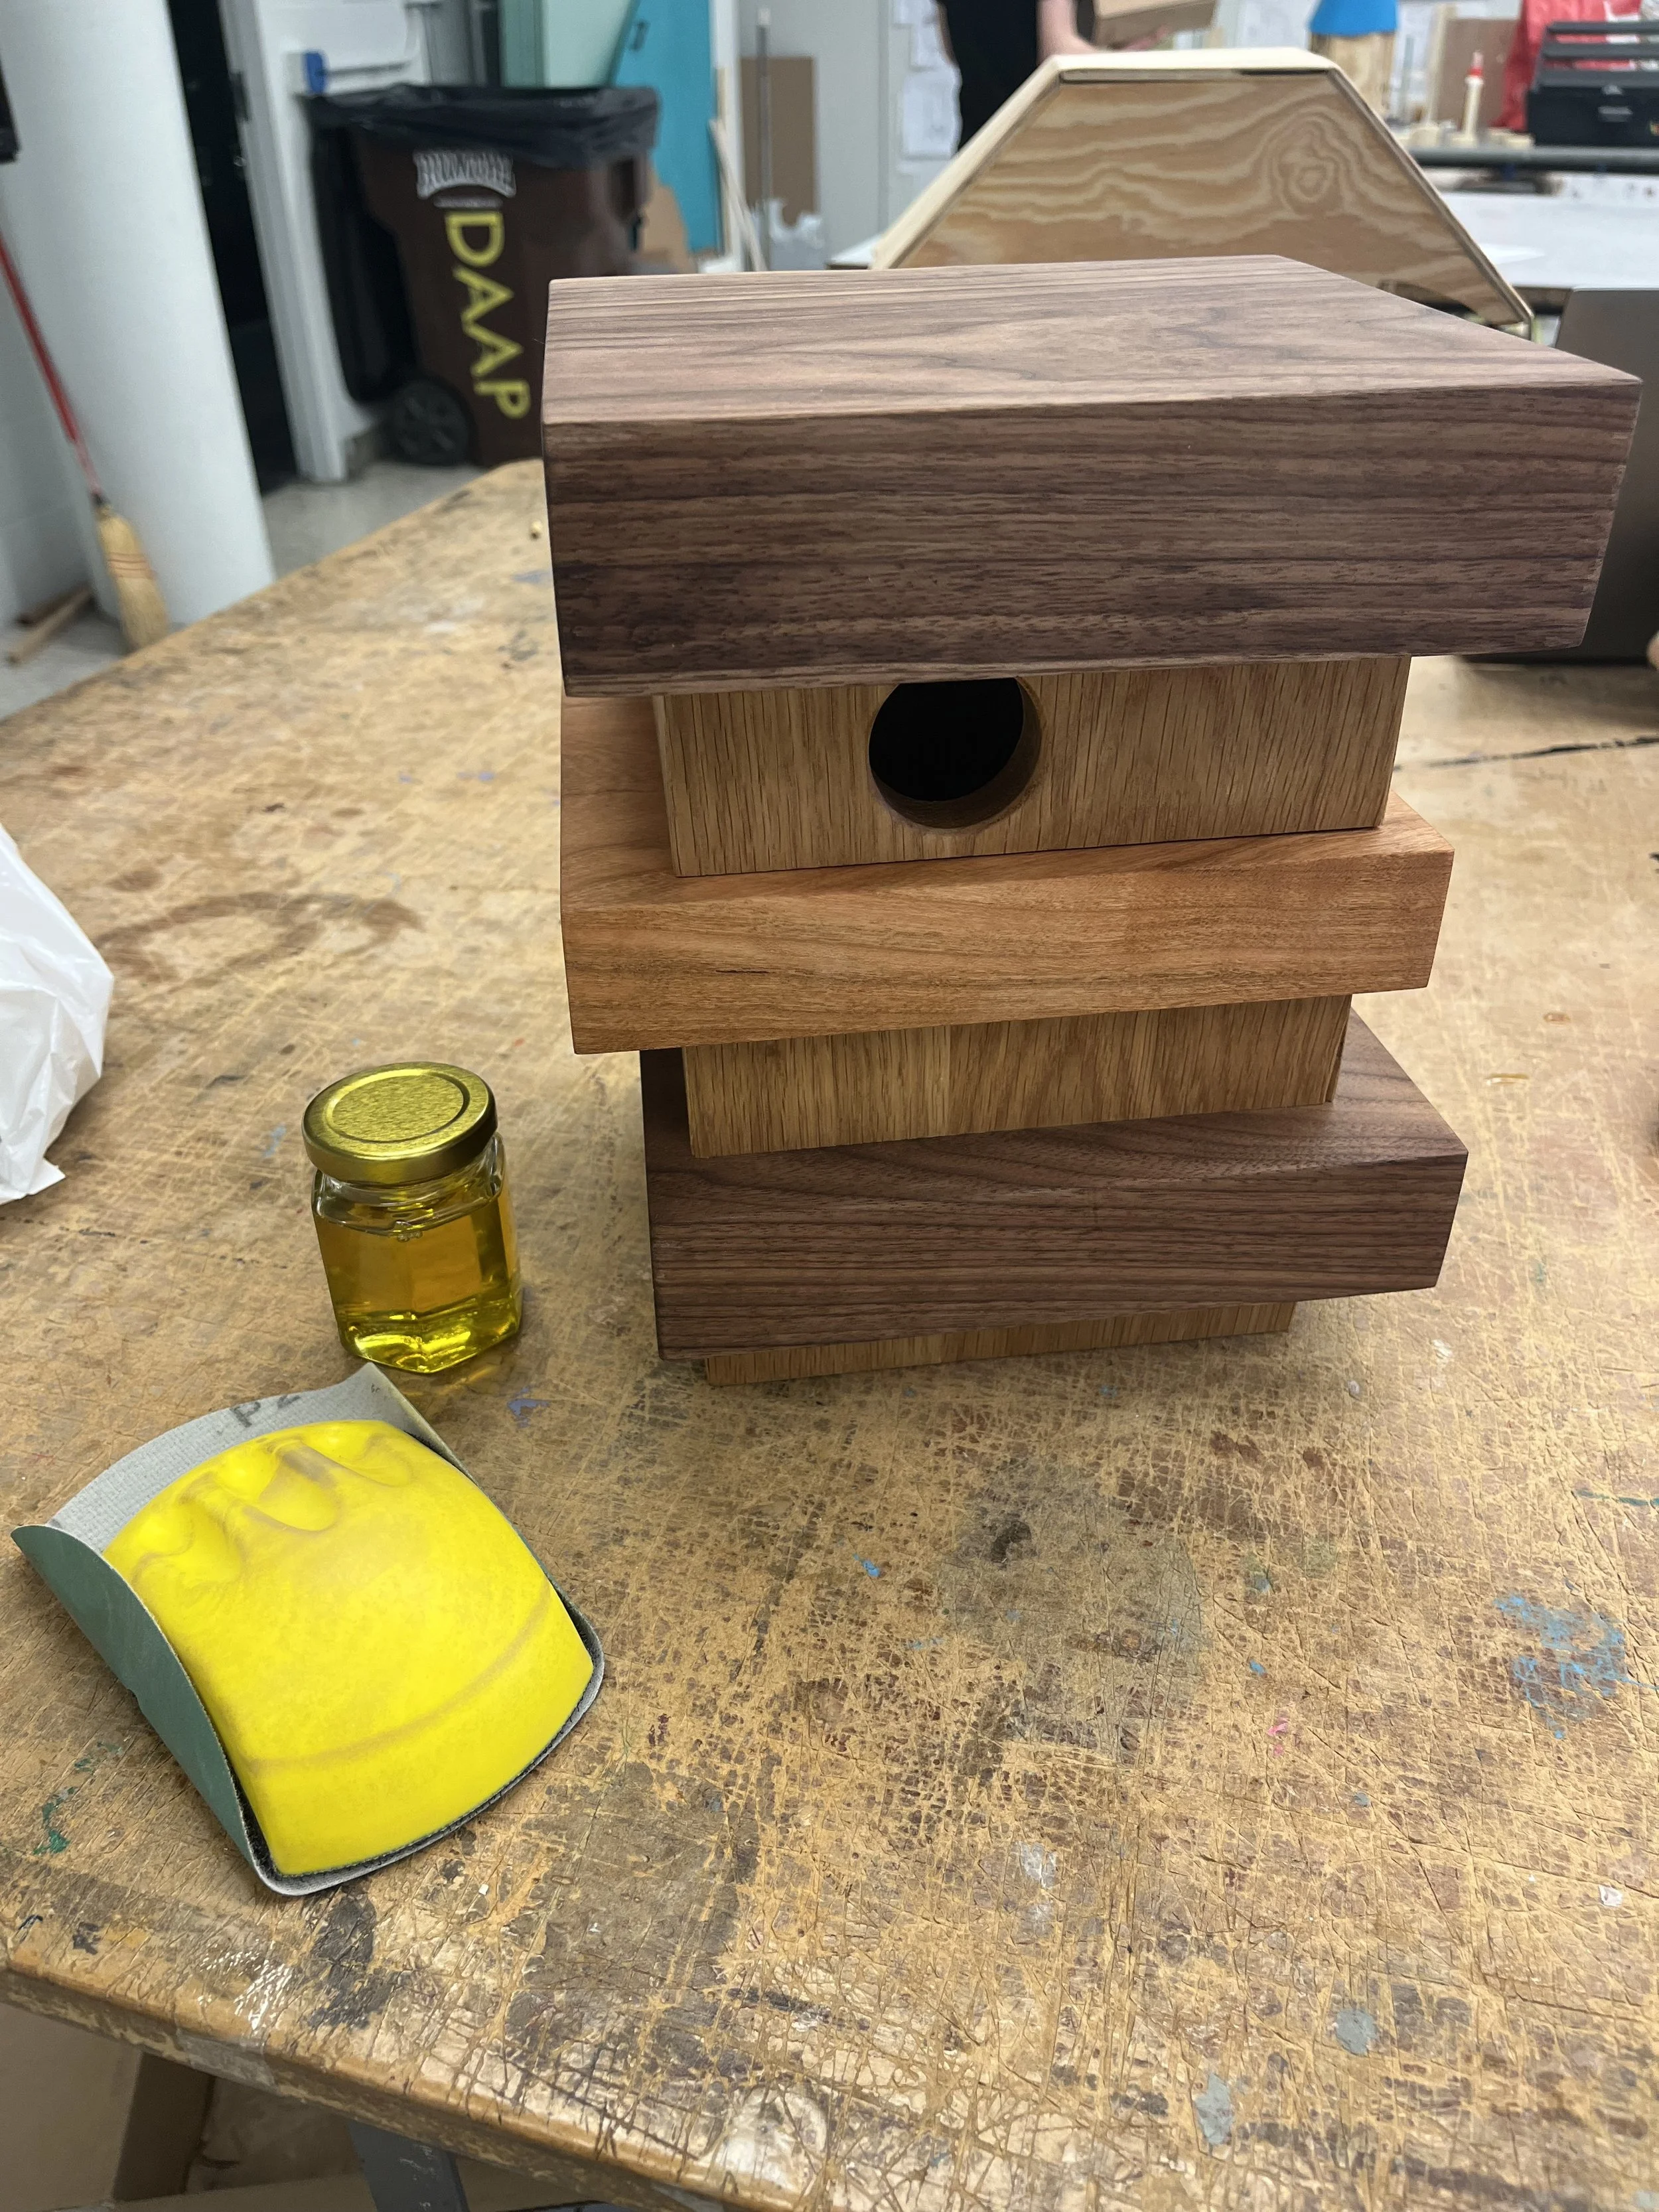
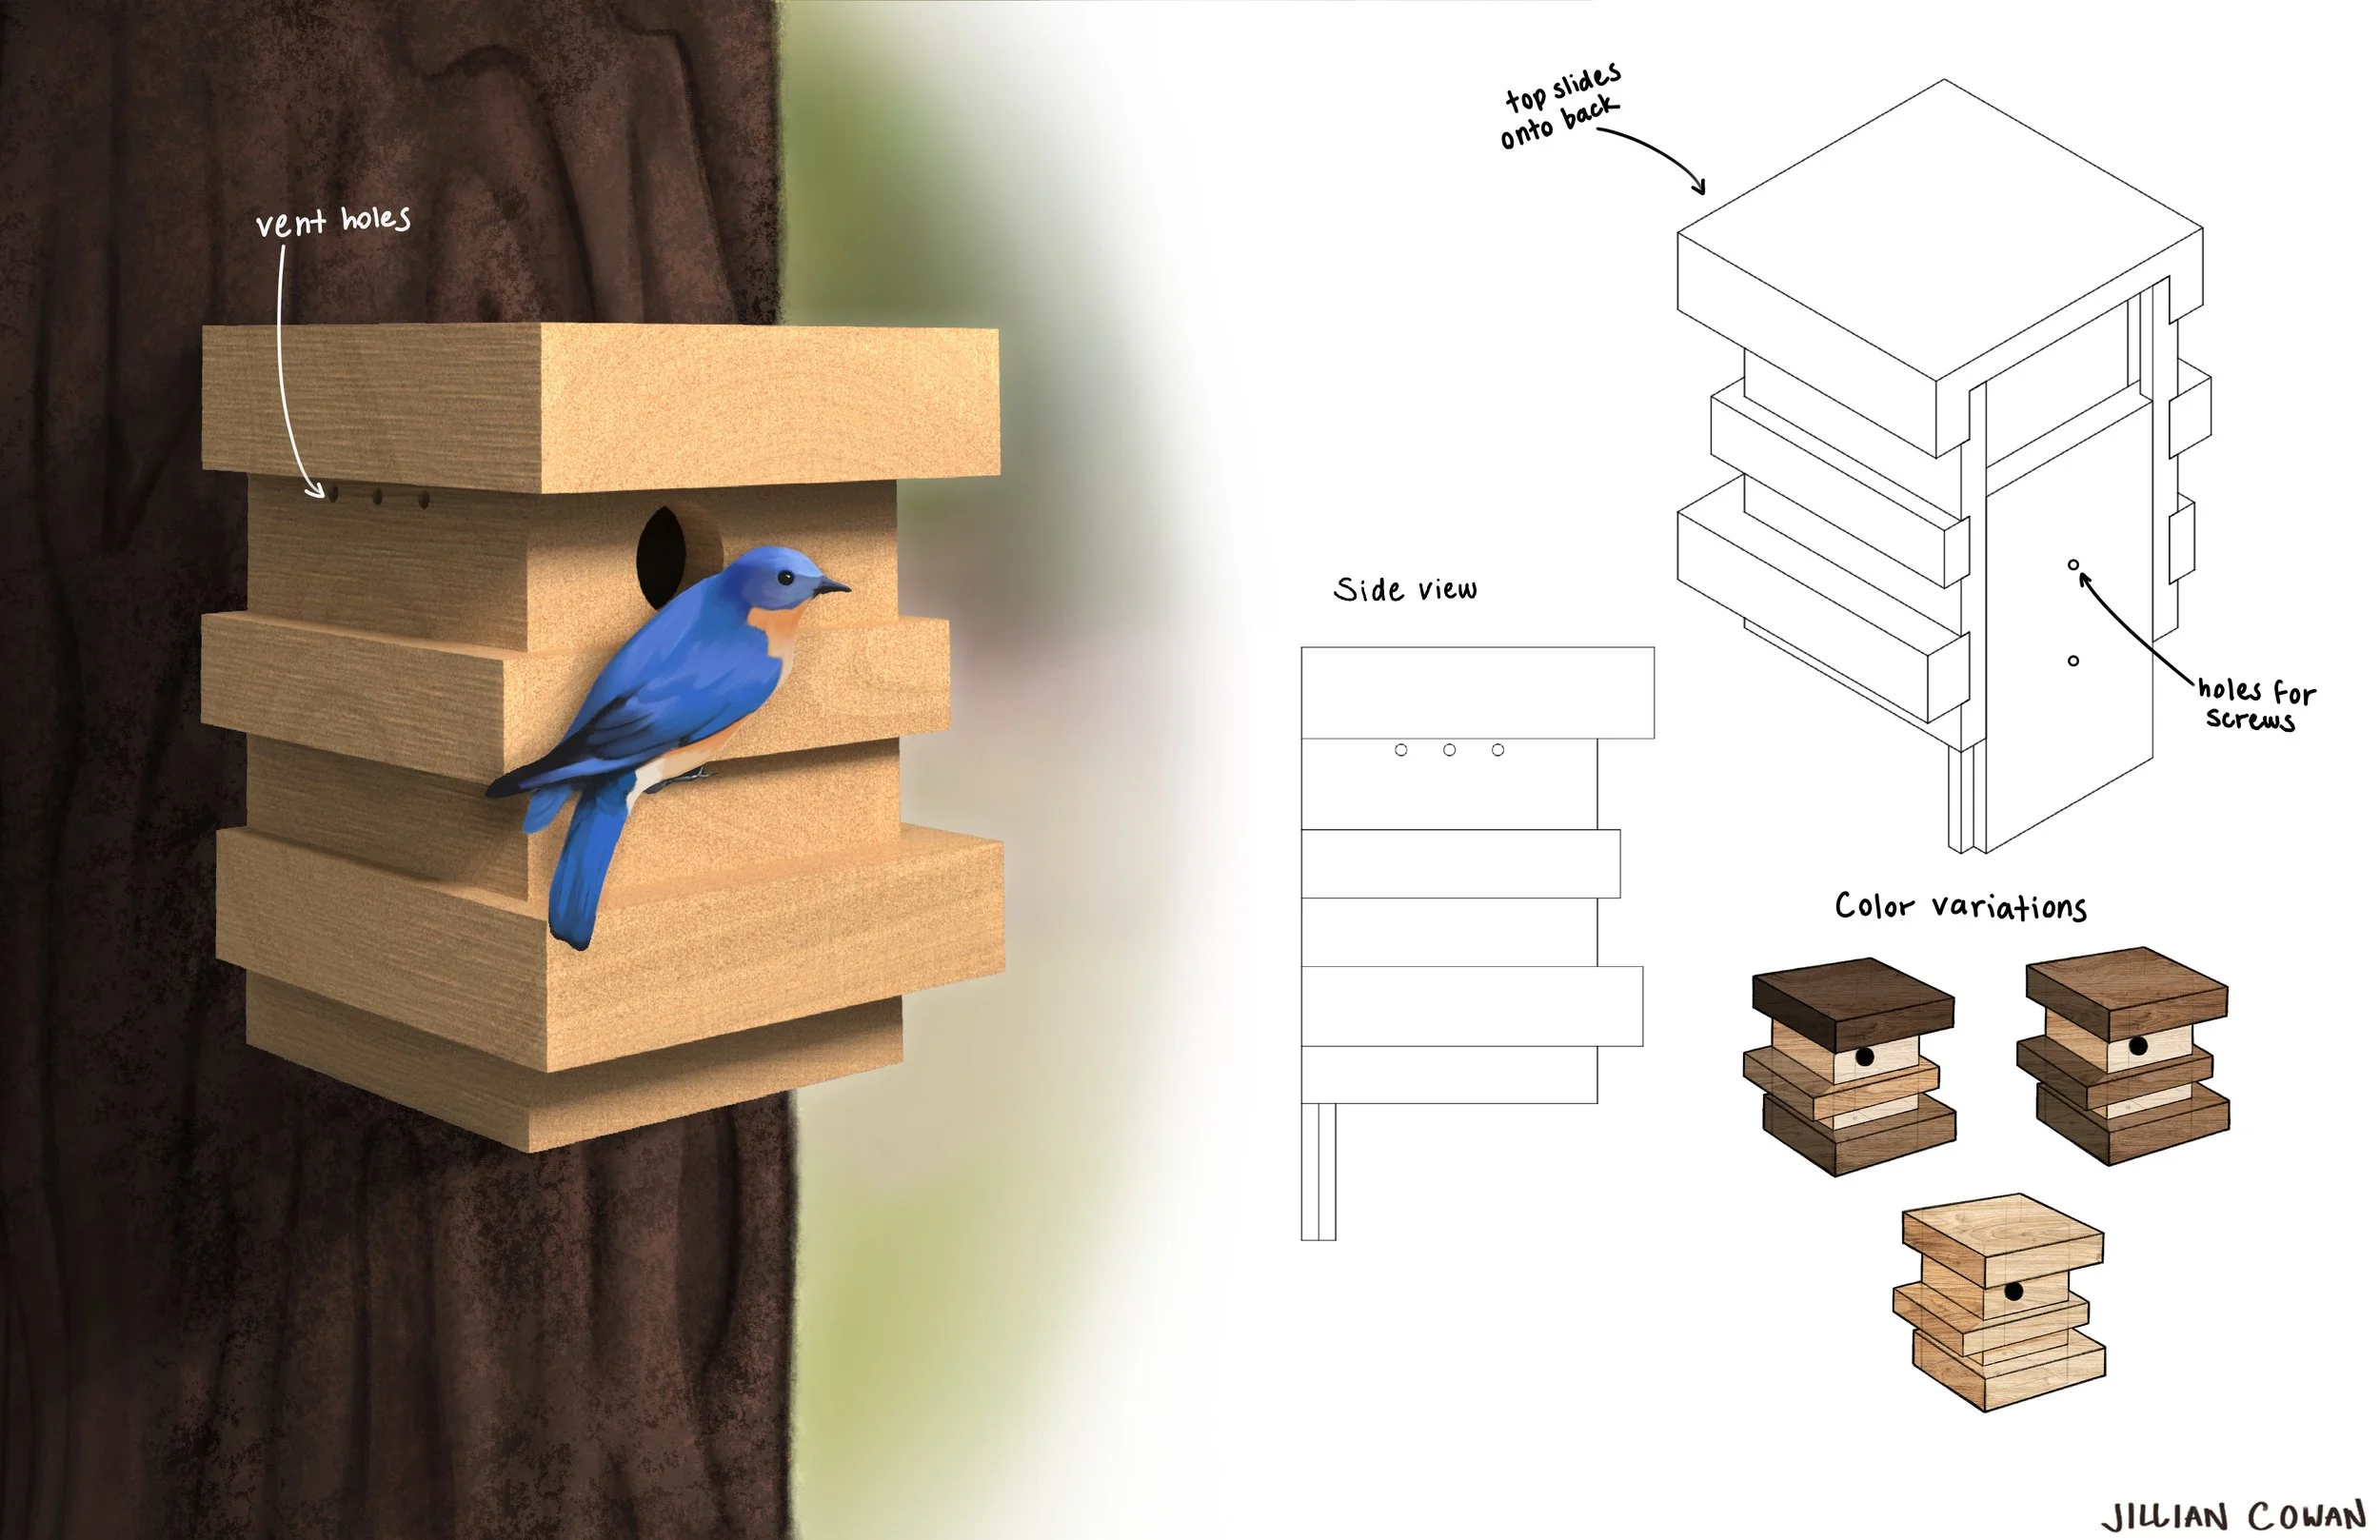
Before creating my final model, I did a few Keyshot renders to further experiment which color combinations I would like to use for the final. I also did one drawn render showing how I would eventually display it, as it is attached and I wanted to show that, and another that also has orthographic drawings on it to explain how it works further. At this point, I ended up deciding on using white oak for the base box, and cherry and walnut for the layers.


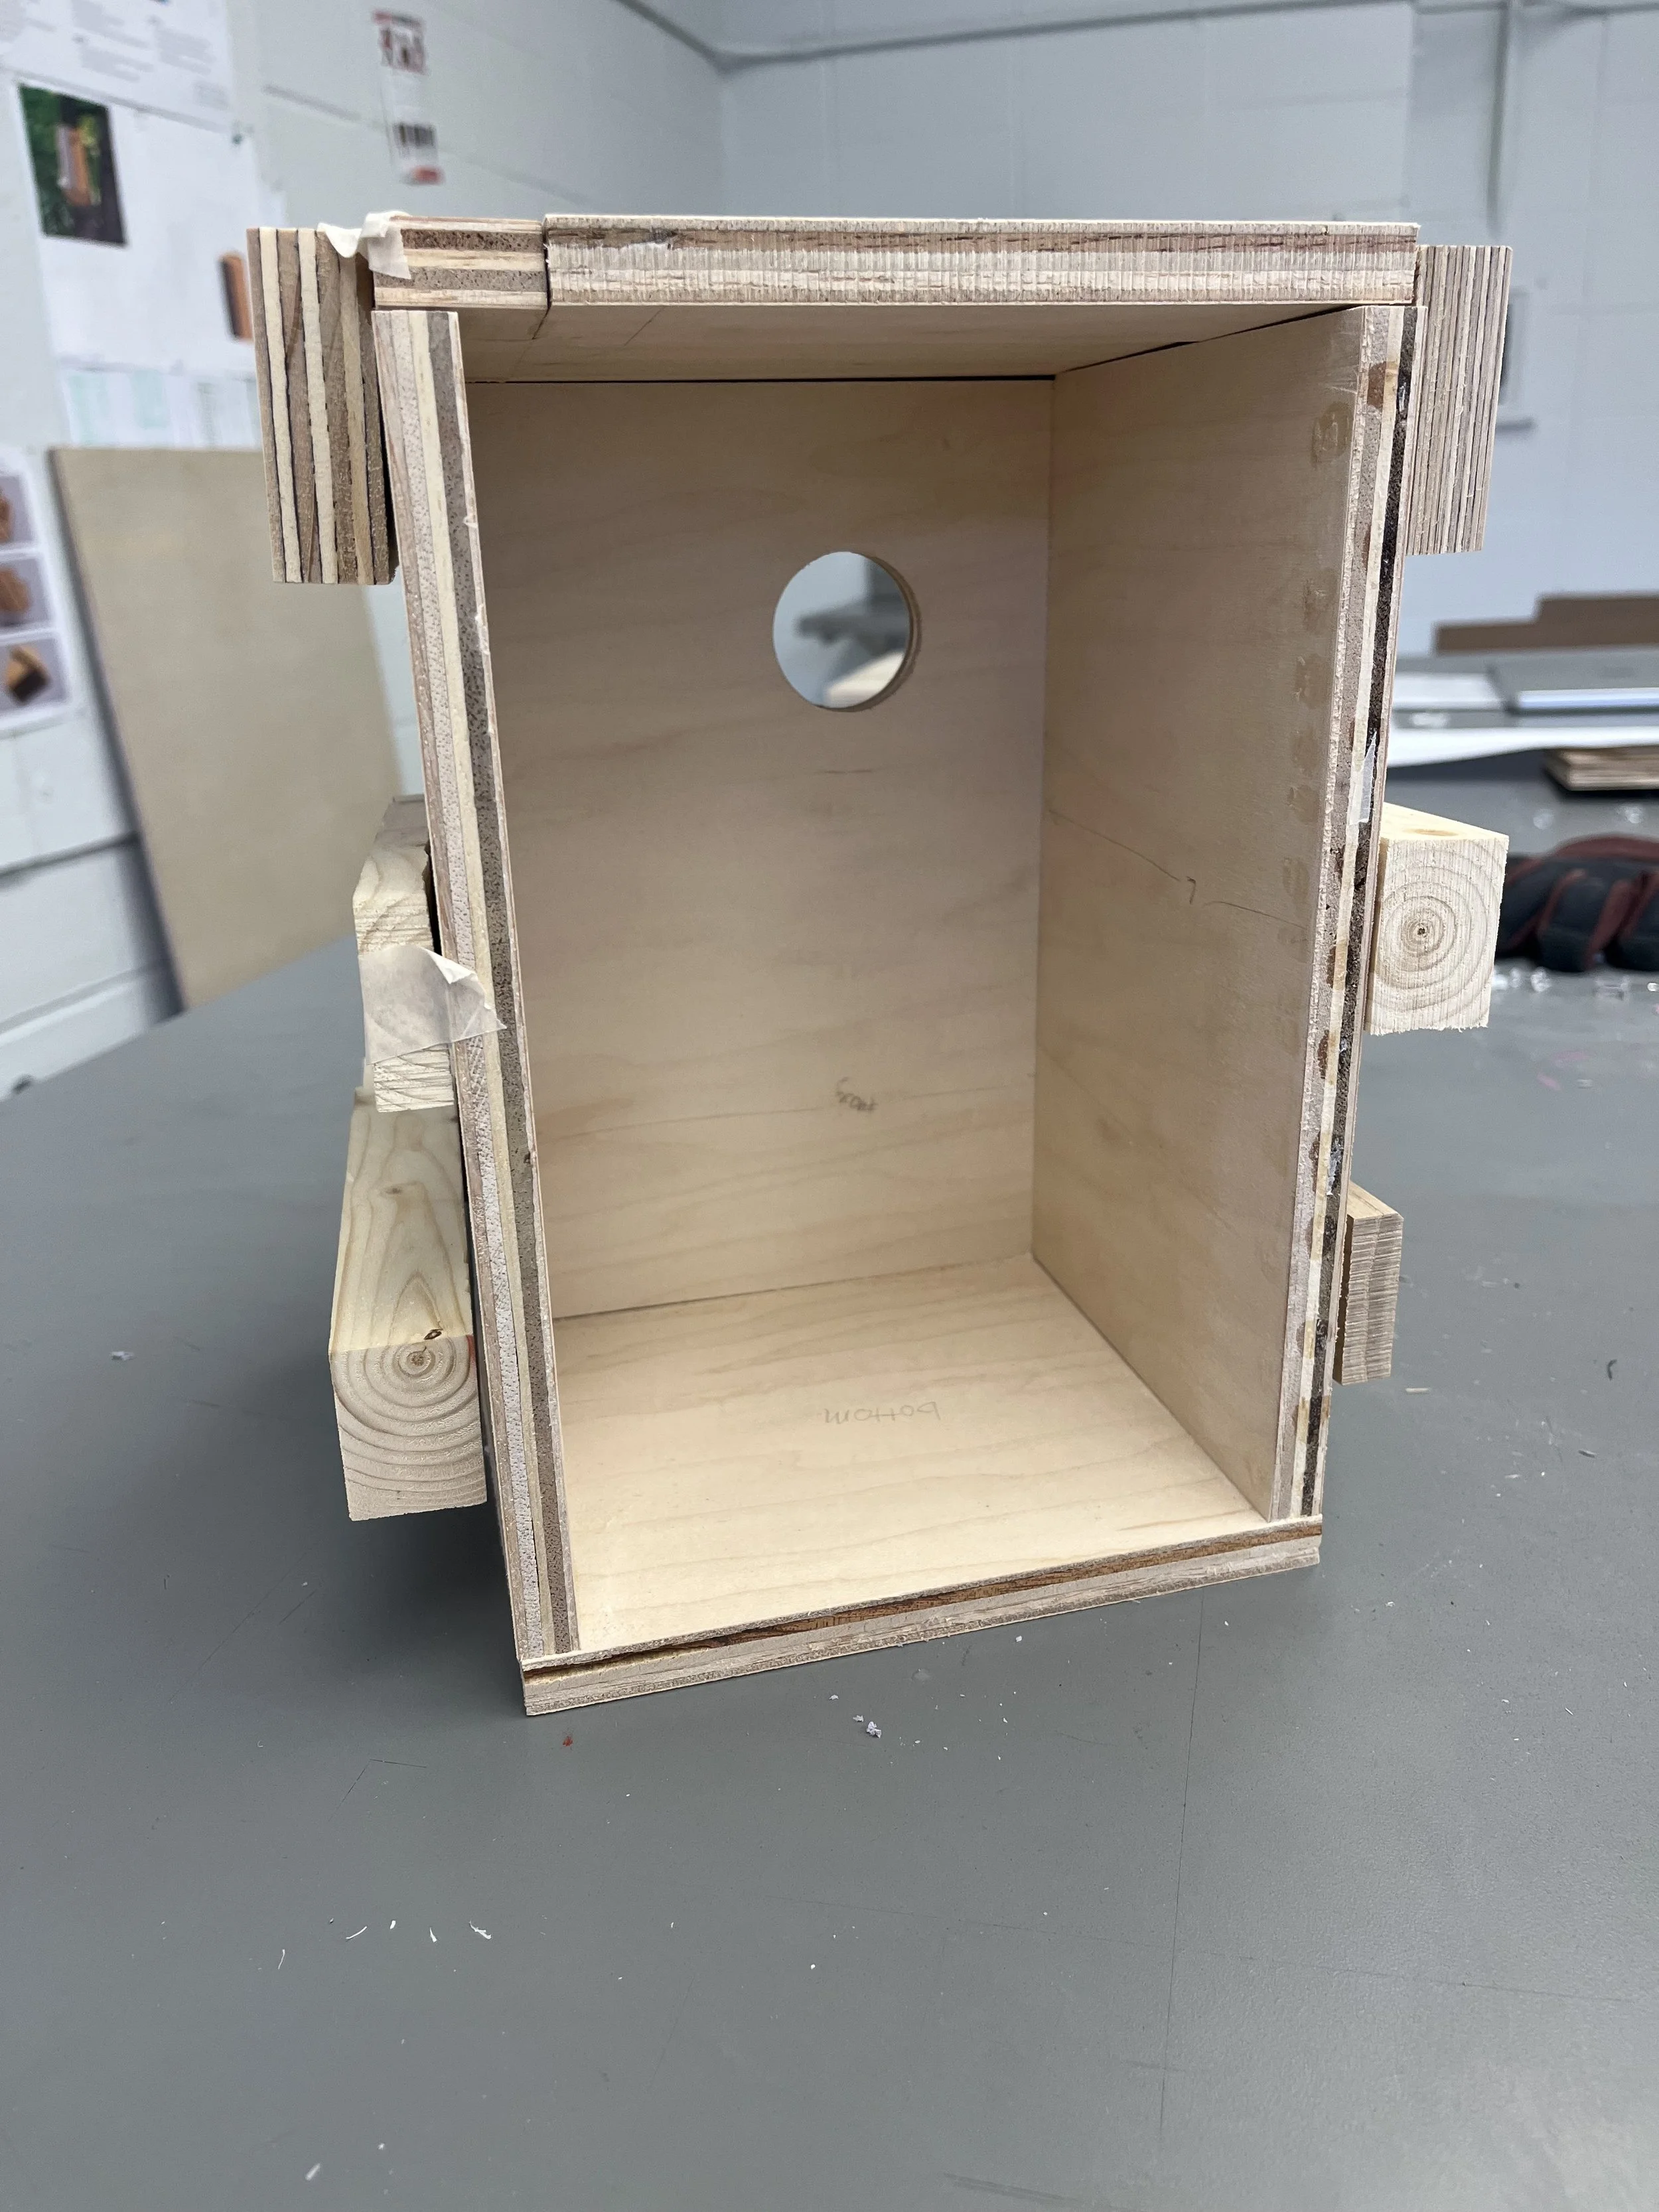
Making the Final Model
After cutting the pieces using the CNC, I cut a few final parts using a table saw and miter saw. I sanded it using an orbital sander as well as hand sanding, before gluing and clamping. I finished my model off by hand sanding a bit more in spots that had some glue residue or scratches, before finishing with tung oil. Overall, I am very happy with how my final birdhouse came out. Im glad I got to use a CNC to cut it, as now I know how to use it for future projects, and I feel like it helped me get more precise cuts which is very important in my design to make sure everything fits together.
For my final model, I cut it using a CNC. I took sketches from my model and put them into illustrator, then to the CNC program (carbide create). The program for the cnc is very similar to the laser cutter, as you have to make different shapes for each type of cut you want to make.


The Final Model